
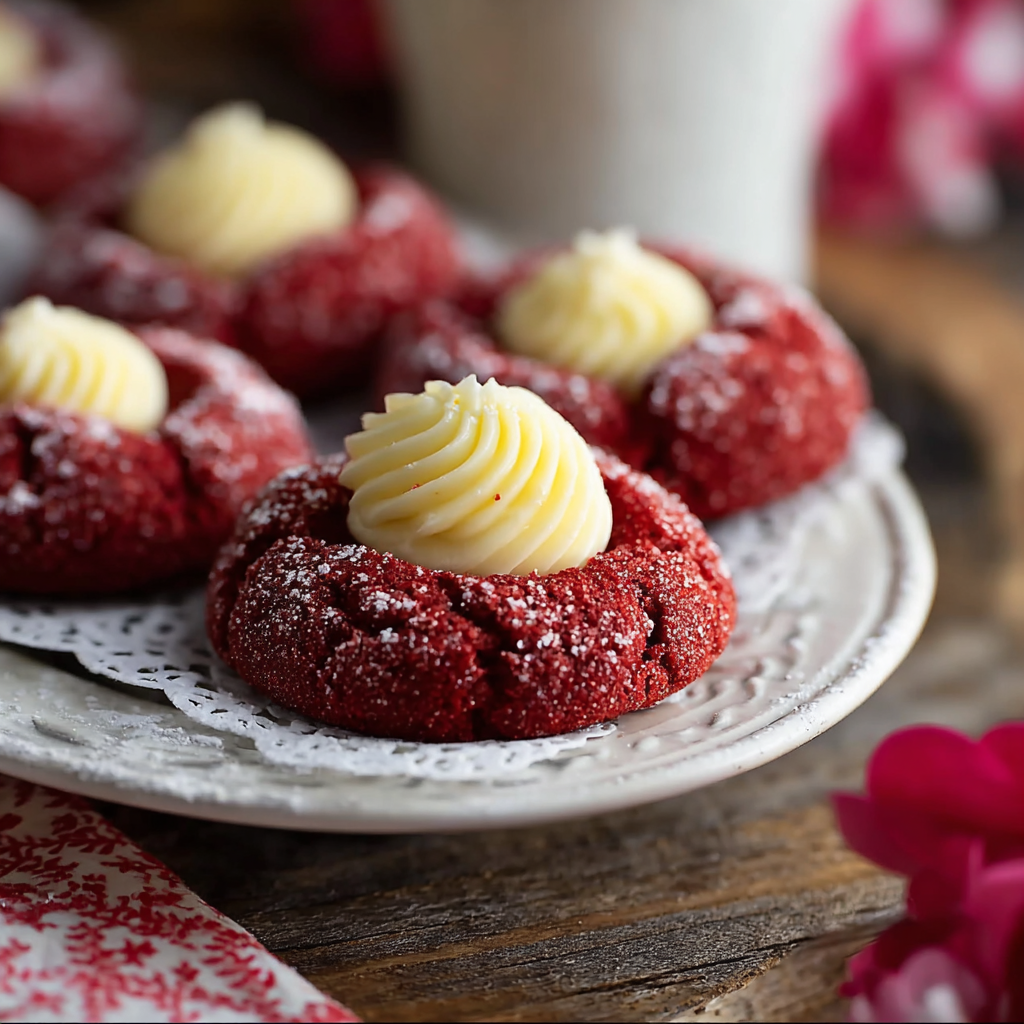
Red Velvet Thumbprint Cookies with Cream Cheese

Soft, buttery red velvet cookies with a tangy cream cheese center — a festive, make-ahead treat that disappears fast.
This recipe for Red Velvet Thumbprint Cookies with Cream Cheese has become my go-to when I want something festive, tender, and a little nostalgic. I first combined these flavors one holiday season when I wanted to give classic thumbprint cookies a modern, colorful twist. The red cocoa dough bakes into small pillows that are soft around the edges and just set on the outside, while a sweet-tangy cream cheese filling keeps each bite balanced. I remember bringing a platter to a neighborhood cookie swap and watching people circle back for more — they liked the color, but they stayed for the creamy center.
I love these cookies because they feel special without being fussy. The dough is forgiving, and the filling comes together in a single bowl. They’re perfect for baking with kids — rolling dough, pressing thumbs, and spooning filling together makes the kitchen instantly warmer. Texturally, you get a slight cocoa note and tender crumb from the butter and egg, contrasted with a smooth cream cheese dollop that melts softly into the indentation. Make them for holiday platters, school events, or a weekend baking session; once you try them, they’ll be on rotation in your recipe box.
Why You'll Love This Recipe
- Colorful and festive: bright red dough makes an eye-catching platter without complicated techniques, ideal for holidays and parties.
- Quick to prepare: active hands-on time is about 20 minutes and most of the work is simple mixing and rolling — ready to bake in under 30 minutes.
- Accessible ingredients: uses pantry staples plus a small amount of cocoa and food coloring; no specialty flours or equipment required.
- Make-ahead friendly: dough can be refrigerated or frozen; filled cookies refrigerate well and freeze for later gifting.
- Crowd-pleasing: mild cocoa notes and sweet-tart cream cheese make these appealing to all ages, including kids.
- Simple technique: rolling into 1-inch balls and creating thumb impressions makes this recipe perfect for bakers of any skill level.
When I first tested this version I swapped different sweeteners and cream cheese ratios; the final balance here was chosen after gifting three dozen to neighbors who texted back immediate praise. My family loves that the cream cheese doesn’t overwhelm the cookie, and the tiny indentations give a satisfying bite that’s not too sugary. These cookies have become the edible signature I bring to potlucks.
Ingredients
- Unsalted butter, 1 cup: Use high-quality European-style butter if you want a richer flavor and slightly firmer dough. Softened to room temperature (about 65–70°F) it creams smoothly with sugar, contributing both moisture and structure.
- Granulated sugar, 1 cup: Standard white sugar creates a fine crumb and helps with browning at the edges. If you prefer a deeper flavor, try half white and half light brown sugar but expect a slightly softer texture.
- Large egg, 1: Adds tenderness and helps bind the dough. Use a large egg at room temperature so it blends evenly into the creamed butter and sugar.
- Vanilla extract, 1 teaspoon: Pure vanilla enhances both the cocoa and cream cheese notes — don’t skip it for the subtle warmth it brings.
- Cocoa powder, 2 tablespoons: Unsweetened, preferably Dutch-processed for a smoother chocolate flavor and deeper color that complements the red color.
- Red food coloring, 1 tablespoon: Gel or paste color works best for vibrant hue without adding extra liquid. If using liquid food coloring, reduce any added liquid elsewhere slightly.
- All-purpose flour, 2 cups: Provides structure; spoon and level for accuracy. If you prefer a tender crumb, lightly whisk the flour before measuring to aerate it.
- Baking powder, 1/2 teaspoon: Gives a modest lift so cookies hold a rounded shape but remain soft.
- Salt, 1/4 teaspoon: Balances sweetness and amplifies cocoa notes; omit only if using salted butter and adjust accordingly.
- Cream cheese, 4 ounces: Full-fat, softened cream cheese yields the best texture for the filling — low-fat versions can be wetter and less stable.
- Powdered sugar, 1/2 cup: Sifted into the cream cheese for a silky filling and a little sweetness that doesn’t overpower the cookie.
Instructions
Preheat and prepare:Preheat the oven to 350°F (175°C) and line a baking sheet with parchment paper. Set two racks to the middle and upper third if you bake multiple sheets consecutively to ensure even browning. Having the tray ready prevents the dough from warming and becoming sticky while you roll the balls.Cream butter and sugar:In a large bowl beat 1 cup softened butter and 1 cup granulated sugar until light and fluffy, about 2–3 minutes on medium speed with a hand mixer or 4–5 minutes with a stand mixer. Scrape the bowl; well-creamed butter traps air that helps the cookies rise slightly and creates a tender crumb.Add egg and vanilla:Beat in the large egg and 1 teaspoon vanilla extract until fully incorporated. The mixture should look glossy and homogenous; this step also helps distribute the cocoa evenly when added.Incorporate cocoa and color:Mix in 2 tablespoons unsweetened cocoa powder and 1 tablespoon red food coloring until the color is even. If you’re using gel coloring, start with about 1 teaspoon and add more to reach the shade you like — gels are more concentrated than liquid.Add dry ingredients:Whisk together 2 cups all-purpose flour, 1/2 teaspoon baking powder, and 1/4 teaspoon salt, then add gradually to the wet ingredients, mixing until just combined. Avoid overmixing; stop when there’s no visible streaks of flour to keep the cookies tender.Form balls and make indentations:Roll dough into 1-inch balls, placing them about 1.5 inches apart on the prepared sheet. Use a greased thumb or the back of a teaspoon to press a shallow indentation in each ball — don’t press all the way through. The indent should hold the filling without collapsing the cookie shell.Make the filling and fill:In a small bowl beat together 4 ounces softened cream cheese and 1/2 cup powdered sugar until smooth and spreadable. Spoon about 1/2 teaspoon of the mixture into each indentation; for neater filling, use a small piping bag or a zip-top bag with the corner snipped.Bake and cool:Bake for 12–15 minutes until the edges are set but the centers are still soft. Remove the tray and let cookies cool on the baking sheet for 5 minutes to firm up, then transfer to a wire rack to cool completely — this prevents the filling from becoming too loose.
You Must Know
- These cookies freeze very well: unbaked dough balls freeze on a tray then transfer to a bag for up to 3 months; bake directly from frozen adding a minute or two to baking time.
- Storage: store baked cookies in an airtight container in the refrigerator for up to 5 days because of the cream cheese filling, or freeze for up to 3 months.
- Nutrition note: each cookie is moderate in calories and contains dairy and egg; adjust portions if serving to those with dietary restrictions.
- Texture tip: do not overbake — pull cookies when edges are set and centers still soft to keep them tender once cooled.
My favorite part is watching how these simple thumbprints look so polished on a holiday platter. One winter I packaged them in layered boxes with parchment and gifted them to neighbors; the vivid color and creamy centers made them the most-requested treat that season. Baking them becomes almost meditative — pressing the thumbprint in repeating motion, filling each cup, and seeing a shelf full of identical little red cushions ready for the oven.
Storage Tips
For short-term storage, place completely cooled cookies in a single layer in an airtight container and refrigerate for up to 5 days. If stacking is needed, separate layers with parchment paper to prevent sticking. For longer storage, arrange unbaked dough balls on a baking tray and freeze until solid, then transfer to freezer bags; bake from frozen and add a minute or two to the time. Baked cookies can also be frozen in a single layer on a sheet, then bagged; thaw in the refrigerator before serving. When reheating, warm for 10–15 seconds in the microwave or 3–4 minutes at 300°F in the oven to refresh texture without melting the filling.

Ingredient Substitutions
If you need to swap ingredients, here are reliable options: replace the unsalted butter with salted butter but reduce added salt by 1/4 teaspoon. For a cocoa boost, try Dutch-processed cocoa and omit any extra baking soda (this recipe uses baking powder only). If you want dairy-free filling, use a firm vegan cream cheese and sifted powdered sugar, but note the filling may be slightly less tangy. To reduce sugar a bit, cut granulated sugar to 3/4 cup and increase powdered sugar in the filling by one tablespoon for balance — keep expectations for texture, as sugar contributes to tenderness and browning.
Serving Suggestions
Serve these cookies on a holiday platter with sprigs of fresh rosemary or mint for color contrast, or dust the plate lightly with sifted powdered sugar. They pair beautifully with hot beverages: a robust coffee, spiced chai, or a cup of unsweetened cocoa complements the cream cheese filling. For parties, arrange on tiered stands or small cupcake liners so guests can take individual pieces without touching others. You can also top a few with a tiny heart-shaped sprinkle for themed events.
Cultural Background
Thumbprint cookies have roots in European baking traditions where small filled cookies were common for celebrations. This version borrows the deep red color and subtle cocoa notes that come from modern North American adaptations — particularly popular in the United States for Valentine’s Day and Christmas. The cream cheese filling nods to American cheesecake flavors and merges two familiar textures: a buttery cookie and a creamy center, creating a hybrid that feels both classic and contemporary.
Seasonal Adaptations
In winter, add a pinch of ground cinnamon or orange zest to the filling for a festive twist. For Valentine’s Day, use pink or deep red coloring and heart-shaped sprinkles; in summer, swap the filling for a lemon-cream cheese blend by adding 1 teaspoon lemon zest and 1 tablespoon lemon juice to the filling. For autumn platters, garnish with chopped toasted pecans or a light drizzle of caramel after baking to echo seasonal flavors.
Meal Prep Tips
Prepare the dough one day ahead and refrigerate for up to 48 hours to allow flavors to mature; roll and indent just before baking if you prefer fresher edges. Alternatively, assemble the filling ahead and keep it chilled in a piping bag for quick filling right before baking. If planning multiple batches, cool sheets between uses to keep dough from spreading. Label frozen trays with date and bake within three months for best quality. These cookies travel well — pack in an insulated box with ice packs for longer trips to maintain the cream cheese filling.
These cookies have become a comforting ritual: the shuffle of parchment, the quick indentation of thumbs, and the hush when everyone takes the first bite. They’re easy enough for a casual afternoon but pretty enough for giving, and that balance is what keeps me baking them year after year. Try them and make the filling your own.
Pro Tips
Use gel or paste red food coloring for a vivid color without adding extra liquid; start with a small amount and increase as needed.
Sift powdered sugar into the cream cheese to avoid lumps and achieve a silky filling.
Do not overbake; remove when edges are set and centers still look slightly soft to keep cookies tender after cooling.
If the dough becomes too soft to roll, chill for 15–20 minutes; chilled dough holds shape better during forming.
This nourishing red velvet thumbprint cookies with cream cheese recipe is sure to be a staple in your kitchen. Enjoy every moist, high protein slice — it is perfect for breakfast or as a wholesome snack any time.
FAQs about Recipes
Can I freeze the dough?
Yes. You can freeze the unbaked dough balls on a tray until solid, then transfer to a freezer bag for up to 3 months. Bake from frozen and add 1–2 minutes to the baking time.
How long will the cookies keep?
Store in an airtight container in the refrigerator for up to 5 days because the cream cheese filling is perishable.
Tags
Red Velvet Thumbprint Cookies with Cream Cheese
This Red Velvet Thumbprint Cookies with Cream Cheese recipe makes perfectly juicy, tender, and flavorful steak every time! Serve with potatoes and a side salad for an unforgettable dinner in under 30 minutes.
Ingredients
Dough
Filling
Instructions
Preheat and prepare
Preheat the oven to 350°F (175°C) and line a baking sheet with parchment paper. Position racks in the middle of the oven for even baking.
Cream butter and sugar
In a large bowl, beat 1 cup softened butter and 1 cup granulated sugar until light and fluffy, about 2–3 minutes with a hand mixer or longer with a stand mixer.
Add egg and flavoring
Beat in 1 large egg and 1 teaspoon vanilla extract until fully incorporated and glossy.
Mix cocoa and coloring, then dry ingredients
Stir in 2 tablespoons cocoa powder and 1 tablespoon red food coloring. Whisk 2 cups flour, 1/2 teaspoon baking powder, and 1/4 teaspoon salt then add gradually until just combined.
Form balls and indent
Roll dough into 1-inch balls, place 1.5 inches apart, and use a greased thumb or spoon to press a shallow indentation in each ball.
Prepare filling and fill cookies
Beat 4 ounces softened cream cheese with 1/2 cup powdered sugar until smooth. Spoon about 1/2 teaspoon into each indentation or pipe using a small bag.
Bake and cool
Bake for 12–15 minutes until edges are set. Cool on the baking sheet for 5 minutes, then transfer to a wire rack to cool completely.
Last Step: Please leave a rating and comment letting us know how you liked this recipe! This helps our business to thrive and continue providing free, high-quality recipes for you.
Nutrition
Did You Make This?
Leave a comment & rating below or tag
@festive-cooks on social media!
Categories:
You might also like...

Air Fryer Apple Fries
Crispy, cinnamon-sugar coated apple fries made in the air fryer — a quick, family-friendly snack or dessert ready in under 30 minutes.

Air Fryer Bacon Cheese Croissants
Golden, flaky croissants filled with ham, melted cheddar and Swiss, finished with a glossy egg wash and cooked in the air fryer for quick, crowd pleasing results.

Air Fryer Bang Bang Cauliflower
Crispy air fryer cauliflower tossed in a creamy sweet-spicy bang bang sauce for a crowd-pleasing, quick appetizer or weeknight treat.
Did You Make This?
Leave a comment & rating below or tag @festive-cooks on social media!
Rate This Recipe
Share This Recipe
Enjoyed this recipe? Share it with friends and family, and don't forget to leave a review!
Comments (1)
This recipe looks amazing! Can't wait to try it.
Comments are stored locally in your browser. Server comments are displayed alongside your local comments.

Hi, I'm Jessica!
What's Popular

30-Minute Meals!
Join to receive our email series which contains a round-up of some of our quick and easy family favorite recipes.