
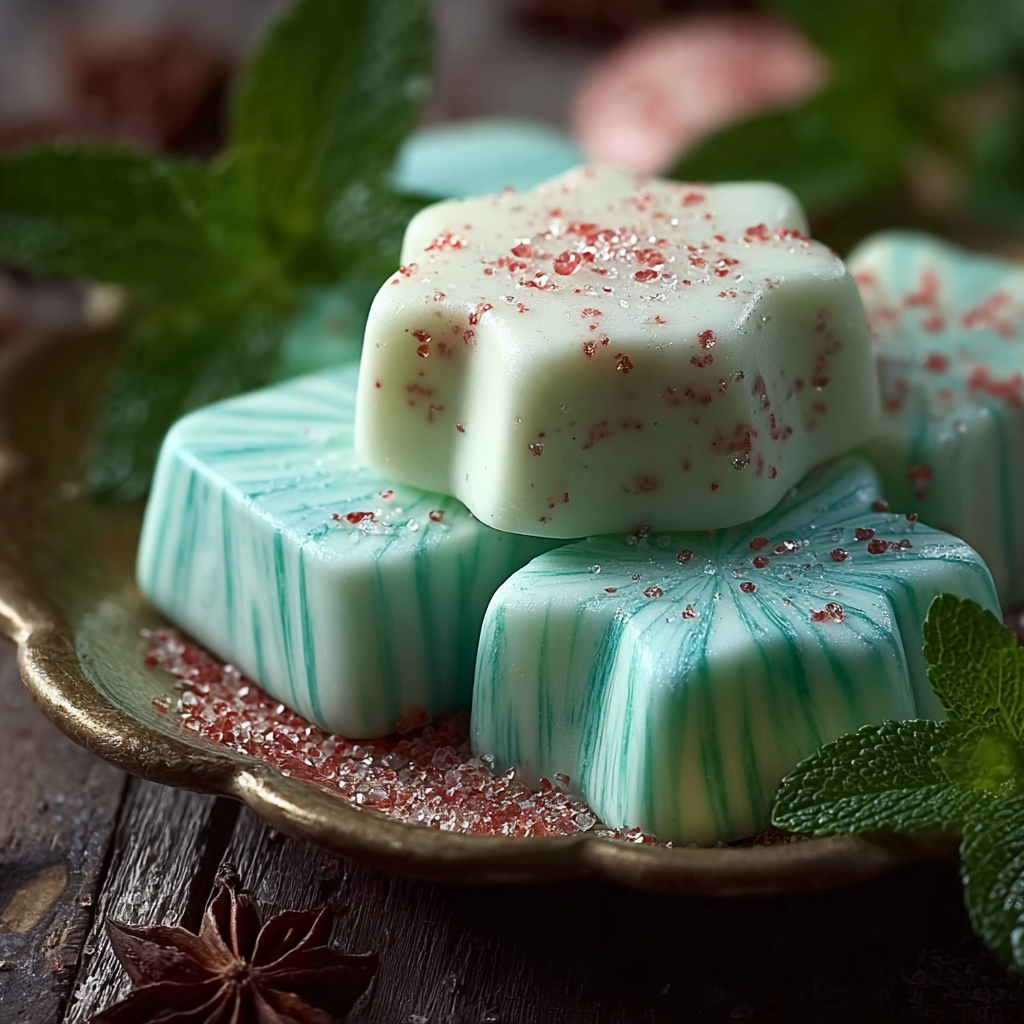
Mint Butter Candy

Silky, melt-in-your-mouth mint butter candies made with simple pantry ingredients — a perfect no-bake treat for holidays, gifts, or a sweet weeknight project.
Why You'll Love This Recipe
- Ready in about 25 minutes of hands-on time with a short chilling period, so it’s perfect for last-minute gifts or a quick holiday treat.
- Uses pantry staples: unsalted butter, powdered sugar, cream or milk, and peppermint extract — no special ingredients required.
- No cooking required: this is a no-bake method that’s beginner-friendly yet yields a refined, candy-like texture.
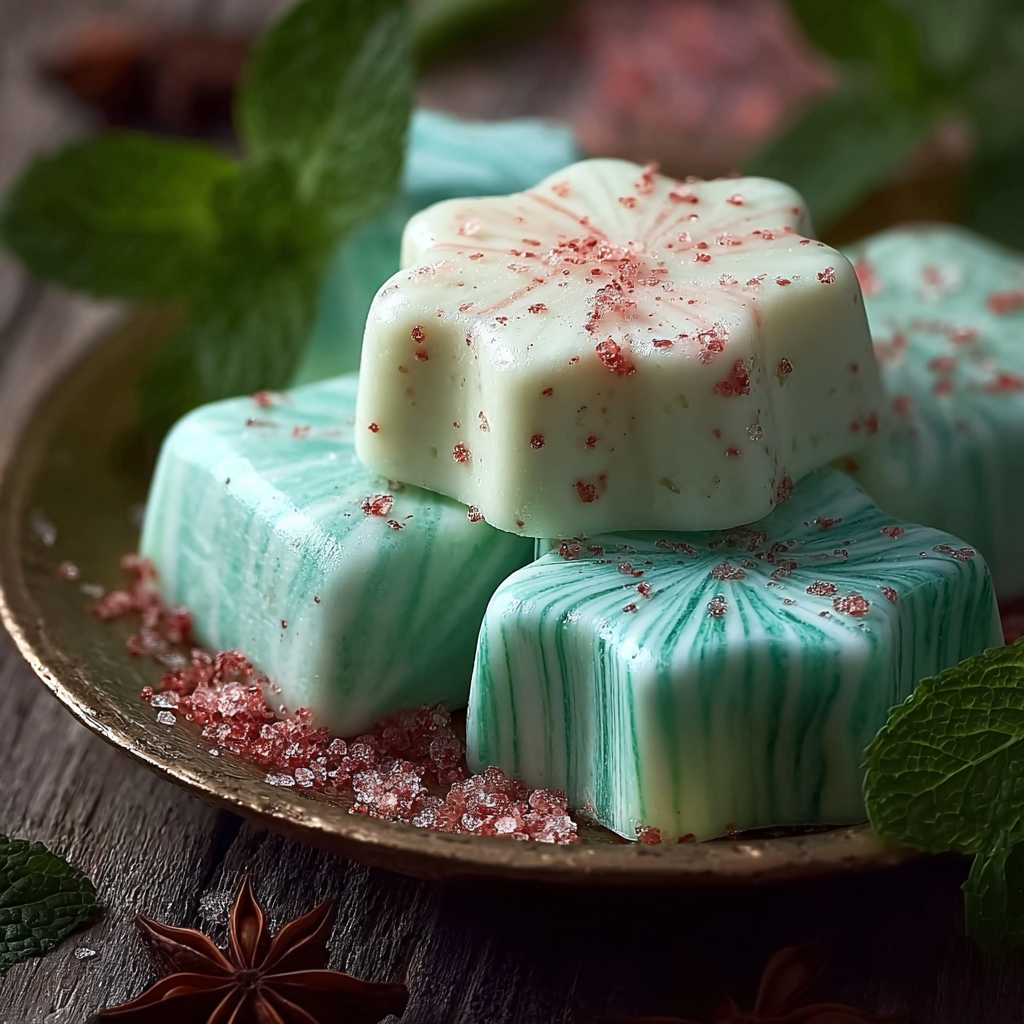
- Customizable color and intensity: add a pinch of gel food coloring for festive presentation and adjust the peppermint for a subtle or bold finish.
- Make-ahead friendly: candies can be chilled and stored in the refrigerator or frozen for longer keeping, making them ideal for prepping ahead of events.
- Crowd-pleasing — they’re elegant enough for a dinner party and simple enough for kids to help shape when supervised.
When I first brought a tin of these to a neighborhood potluck, people assumed I’d spent hours in the kitchen. In reality, the process is short and forgiving; once you master the consistency — soft but not sticky — you can scale or flavor them with ease. My niece loves pressing tiny hearts into each piece before chilling, which makes them a hit at family gatherings.
Ingredients
- Unsalted butter (1/2 cup): Use room-temperature unsalted butter for the creamiest texture. I prefer European-style butter if you can find it for a richer flavor, but a standard stick from the grocery store works beautifully. Softening to a spreadable consistency makes it easier to blend with the sugar.
- Powdered sugar (4 cups): Also called confectioners sugar or icing sugar; it provides both sweetness and the crystalline structure that makes these candies set. Sifted is ideal to avoid lumps; if you don’t have a sifter, press through a fine mesh before use.
- Heavy cream or milk (1 tablespoon): A small amount of liquid loosens the mixture and gives a silky mouthfeel. Heavy cream yields a richer result; whole milk will make a slightly lighter texture.
- Peppermint extract (1/2 teaspoon): Pure peppermint extract gives a clean, invigorating flavor. Start with 1/2 teaspoon and taste — extracts vary in strength, and you can add up to 3/4 teaspoon for a more pronounced mint.
- Salt (1 pinch): A pinch of fine salt brightens the sweetness and rounds flavors; use kosher or fine sea salt sparingly.
- Gel food coloring (optional): A tiny dab of gel — not liquid — preserves the candy’s consistency while adding holiday colors. A toothpick-sized amount of green or red is all you need.
Instructions
Soften and cream the butter: Leave the butter at room temperature until it yields to gentle pressure and is spreadable but not greasy. In a medium bowl, use a hand mixer or stand mixer on low to beat the butter until smooth and lightened, about 1 to 2 minutes. This aeration helps the final texture feel less dense. Incorporate powdered sugar: Sift the powdered sugar and add it in two additions. Mix on low speed after each addition to avoid a cloud of sugar. Scrape the bowl and beat until the mixture resembles a soft, slightly crumbly paste. If it’s too dry, add the cream tablespoon by tablespoon. Add flavor and color: Stir in the peppermint extract and a pinch of salt. Taste and adjust peppermint in 1/8 teaspoon increments. If using gel color, knead it in with a spatula or a gloved hand until the hue is even; a little goes a long way, so start small. Shape the candies: Turn the mixture onto a sheet of parchment and shape into a log or roll small 1/2-inch balls between lightly greased palms. For a neat presentation, press into a lined mini-muffin tin or pipe logs using a pastry bag fitted with a large round tip. Work quickly if your hands are warm. Chill to set: Place shaped pieces on a baking sheet lined with parchment and refrigerate for at least 30 minutes, or until firm. For faster setting, freeze for 10 to 15 minutes — but avoid freezing long-term if you want the best texture. Serve and store: Once firm, transfer to an airtight container layered with parchment. Keep refrigerated for up to two weeks or freeze for up to three months. Allow frozen candies to sit at room temperature for 10 minutes before serving for the best melt-in-mouth texture.
You Must Know
- This treat is high in sugar and rich in fat; it freezes well for up to three months and refrigerates for up to two weeks.
- Because there is no cooking step, texture depends on accurate proportions and thorough creaming of butter into sugar.
- Adjust peppermint carefully: extracts vary, and a little too much will overwhelm the buttery base.
- Powdered sugar holds structure; liquid sweeteners or granulated sugar will not yield the same set.
My favorite part is how customizable they are. I’ve made pale green candies for St. Patrick’s Day and tiny red-and-white swirled hearts for Valentine’s. Each variation brings out different memories: minty winter nights, rooftop parties with peppermint martinis, and quiet afternoons packaging tins for neighbors. They’re deceptively simple yet deeply sentimental.
Storage Tips
Store these candies in an airtight container layered with parchment to prevent sticking. Keep them refrigerated if you plan to eat them within two weeks; for longer storage, freeze in a sealed container for up to three months. To thaw, move them from the freezer to the refrigerator for an hour and then bring to room temperature for 10 minutes before serving. Avoid leaving them at room temperature for extended periods in warm weather because the butter-based interior can soften and lose shape.
Ingredient Substitutions
If you prefer a lighter texture, substitute whole milk for heavy cream — add no more than 1 tablespoon. For a dairy-free option, use a plant-based butter and full-fat coconut cream; flavor will shift slightly and the texture will be a touch more coconut-forward. For a stronger mint profile, use 1/4 teaspoon of natural peppermint oil in place of extract but reduce the quantity carefully because oils are concentrated. If powdered sugar isn’t handy, blend granulated sugar to a fine powder in a high-speed blender until it reaches a confectioners consistency and sift before use.
Serving Suggestions
Arrange on a small platter dusted lightly with sifted powdered sugar or crushed candy cane for a festive look. They pair beautifully with coffee, tea, or a dark chocolate tasting flight. For party favors, wrap individual pieces in wax paper and tie with kitchen twine. For dessert plates, place one candy beside a spoonful of whipped cream or lemon curd to offset the sweetness with acidity.
Cultural Background
Mint-flavored confections have long been associated with hospitality and palate-cleansing after heavy meals. Butter-based candies are reminiscent of European butterfillings and certain traditional fondants; in American holiday culture, peppermint often signals winter festivities and homemade gifts. The simplicity of this method — creaming fat with sugar — echoes classic techniques used in many old-fashioned candies adapted for the modern kitchen.
Seasonal Adaptations
In winter, add a teaspoon of finely ground crushed candy cane to the outer dusting for a festive crunch; in spring, swap peppermint for a few drops of orange extract and tint softly with pastel colors. For summer, consider reducing peppermint to 1/4 teaspoon and folding in a teaspoon of lime zest for a bright twist. Holiday versions can include a teaspoon of finely chopped toasted nuts rolled on the outside for texture.
Meal Prep Tips
Batch this up in larger quantities and portion into small airtight containers for grab-and-go treats. Press the mixture into a lined shallow pan, chill until firm, then cut into uniform squares to save shaping time. Use silicone molds to produce consistent shapes that are easy to gift. Label containers with date and flavor variations for easy rotation from freezer to table.
Making these mint butter candies is one of those kitchen rituals that yields big smiles for little effort. Whether you tuck a few into a neighbor’s mailbox or serve them alongside after-dinner coffee, they feel special and approachable — a little homemade luxury that’s wonderfully easy to share.
Pro Tips
If the mixture feels too sticky, chill it briefly for 10 minutes, then shape — slightly chilled dough is much easier to form.
Use gel coloring sparingly; it won’t change consistency but a little goes a long way for vibrant hues.
For neater presentation, pipe the mixture into lined mini-muffin cups rather than rolling by hand.
This nourishing mint butter candy recipe is sure to be a staple in your kitchen. Enjoy every moist, high protein slice — it is perfect for breakfast or as a wholesome snack any time.
Tags
Mint Butter Candy
This Mint Butter Candy recipe makes perfectly juicy, tender, and flavorful steak every time! Serve with potatoes and a side salad for an unforgettable dinner in under 30 minutes.
Ingredients
Main
Instructions
Soften and cream the butter
Leave butter at room temperature until spreadable. Beat in a medium bowl with a hand or stand mixer until smooth and slightly aerated, about 1 to 2 minutes.
Add powdered sugar
Sift powdered sugar and add in two batches, mixing on low after each addition until a soft paste forms. Scrape bowl as needed to ensure even mixing.
Add flavor and color
Stir in peppermint extract and a pinch of salt. Taste and adjust peppermint in small increments. Knead in gel color if using until evenly distributed.
Shape the candies
Form 1/2-inch balls between lightly greased palms or press into a lined mini-muffin tin. For uniform shapes, pipe using a pastry bag fitted with a large round tip.
Chill to set
Place shaped pieces on parchment and refrigerate for at least 30 minutes or freeze for 10 to 15 minutes until firm.
Store and serve
Store in an airtight container in the refrigerator for up to two weeks or freeze for up to three months. Bring to room temperature for 10 minutes before serving.
Last Step: Please leave a rating and comment letting us know how you liked this recipe! This helps our business to thrive and continue providing free, high-quality recipes for you.
Nutrition
Did You Make This?
Leave a comment & rating below or tag
@festive-cooks on social media!
Categories:
You might also like...

Air Fryer Apple Fries
Crispy, cinnamon-sugar coated apple fries made in the air fryer — a quick, family-friendly snack or dessert ready in under 30 minutes.

Air Fryer Bacon Cheese Croissants
Golden, flaky croissants filled with ham, melted cheddar and Swiss, finished with a glossy egg wash and cooked in the air fryer for quick, crowd pleasing results.

Air Fryer Bang Bang Cauliflower
Crispy air fryer cauliflower tossed in a creamy sweet-spicy bang bang sauce for a crowd-pleasing, quick appetizer or weeknight treat.
Did You Make This?
Leave a comment & rating below or tag @festive-cooks on social media!
Rate This Recipe
Share This Recipe
Enjoyed this recipe? Share it with friends and family, and don't forget to leave a review!
Comments (1)
This recipe looks amazing! Can't wait to try it.
Comments are stored locally in your browser. Server comments are displayed alongside your local comments.

Hi, I'm Jessica!
What's Popular

30-Minute Meals!
Join to receive our email series which contains a round-up of some of our quick and easy family favorite recipes.