
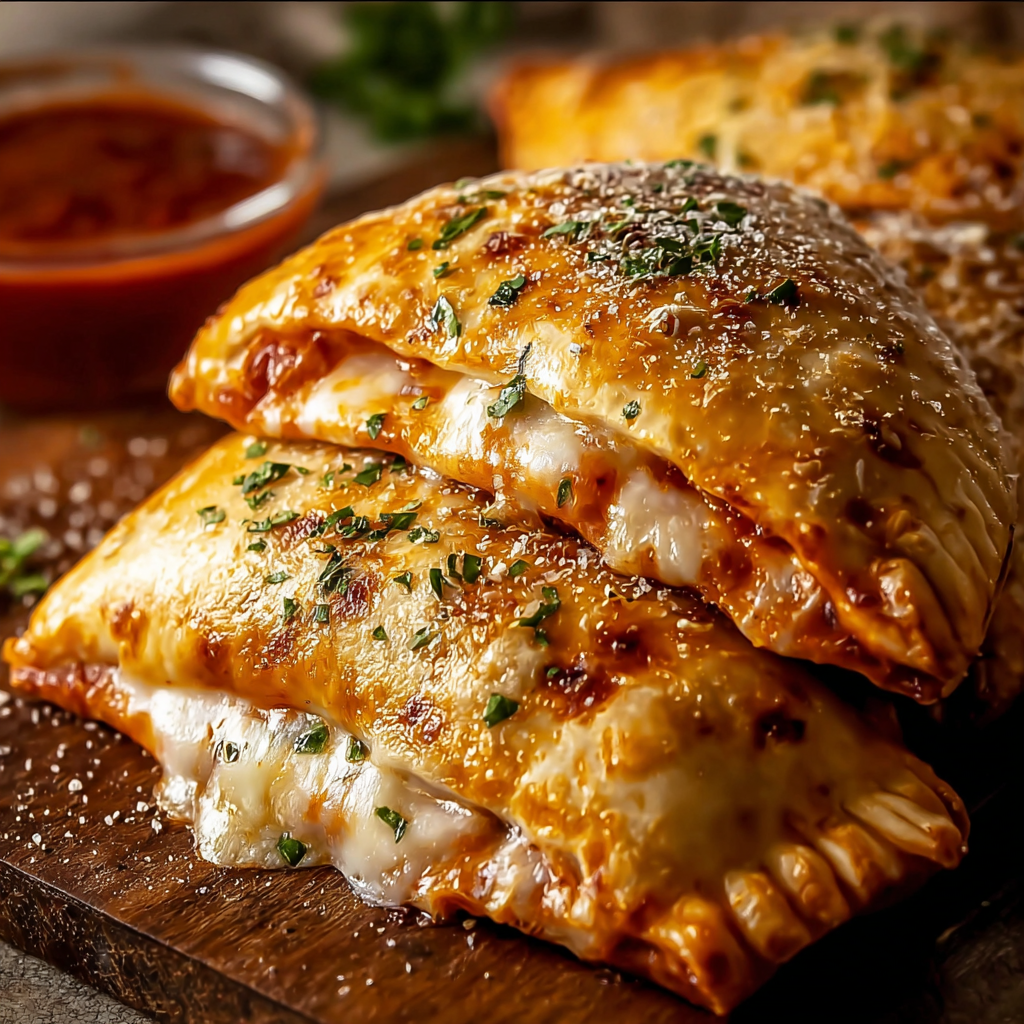
Homemade Pizza Pockets

Handheld pizza pockets filled with classic pepperoni & olives or broccoli & cheddar — quick to assemble, freezer-friendly, and perfect for busy weeknights.
This recipe for homemade pizza pockets is my answer to the classic calzone and the busy-weeknight scramble. I first developed these pockets on a rainy Saturday when I had two refrigerated pizza crusts, a bag of frozen broccoli, and a craving for something fun the kids could hold in their hands. The result was a portable, golden-crisp pocket with bubbling cheese and bright, savory fillings that quickly earned a spot in our regular rotation. It’s the kind of food that invites conversation; everyone wants to take the first bite and compare which filling they prefer.
What makes these pockets special is their balance of textures and simplicity of assembly. The exterior bakes up crisp and slightly blistered while the interior stays saucy and cheesy when you seal and vent the dough correctly. I use Borden shredded cheeses for dependable melt and flavor, and a good refrigerated pizza crust for consistent structure. Whether you make the classic pepperoni and olive version for a crowd-pleasing favorite or the broccoli and cheddar version for a veggie-forward option, these pockets are forgiving, adaptable, and great for packing into lunches or freezing for later.
Why You'll Love This Recipe
- Versatile fillings: make a classic pepperoni and olive pocket or a broccoli and cheddar pocket that satisfies picky eaters and vegetable lovers alike.
- Quick assembly: ready to bake in about 15 minutes of active prep time, perfect for busy evenings and impromptu gatherings.
- Freezer-friendly: assemble, freeze on a tray, then transfer to a bag for easy heat-and-eat meals later on.
- Uses pantry staples and simple refrigerated dough so you don’t need specialty ingredients; I often reach for Pillsbury or a store-brand classic pizza crust.
- Kid-approved and portable: everything you love about pizza, wrapped up and easy to eat without utensils.
My family’s reaction the first time I made both versions was instant: the pepperoni pockets disappeared in minutes while the broccoli pockets surprised everyone with how well the sharp cheddar played with the vegetable’s texture. Over time I learned little adjustments—like brushing with olive oil for better browning—that took the pockets from good to reliably great.
Ingredients
- Refrigerated classic pizza crust: Choose a smooth, pliable crust like Pillsbury or a high-quality store brand. It should stretch without tearing and hold fillings without leaking. One crust yields about two medium pockets depending on how large you shape them.
- Pizza sauce (1/2 cup): Use a thick sauce rather than a watery marinara to keep the dough from becoming soggy. Look for a brand with balanced acidity and seasoning, or use your favorite homemade sauce.
- Borden shredded cheeses: The recipes call for Borden shredded Mozzarella and Sharp Cheddar because they melt consistently and have a clean flavor. For the pepperoni version use 1 cup mozzarella; for the broccoli version use 3/4 cup sharp cheddar plus 1/4 cup mozzarella.
- Pepperoni (2 oz): Regular sliced pepperoni provides a salty, spicy counterpoint to the cheese. Choose a standard 2-ounce serving of slices for even distribution.
- Sliced black olives (4 oz can, drained): Adds briny brightness to the classic pocket. Drain thoroughly to avoid extra moisture.
- Broccoli (1 1/2 cups finely chopped): I recommend thawing frozen broccoli from a 12-ounce bag and chopping it fine so it cooks through quickly and distributes evenly with the cheese.
- Olive oil and Italian seasoning: A light brush of olive oil and a sprinkle of Italian seasoning add color and flavor while preventing the dough edge from drying out during baking.
Instructions
Prepare the fillings: For the classic filling, measure 1/2 cup pizza sauce, layer 1 cup shredded mozzarella, 2 ounces pepperoni slices and the drained 4-ounce can of sliced black olives in a bowl. For the broccoli filling, thoroughly thaw and finely chop frozen broccoli so it measures about 1 1/2 cups; toss it with 3/4 cup shredded sharp cheddar and 1/4 cup mozzarella. If the broccoli seems wet, blot it with paper towels first. The goal is even distribution without excess moisture. Preheat the oven: Set the oven to 425°F (218°C) and position a rack in the center. Place a baking sheet inside while the oven heats for better browning. Preheating the sheet helps the bottoms crisp quickly and prevents dough from becoming soggy. Divide and roll the dough: Unroll the refrigerated crust and divide it into portions—for two crusts you can make four medium pockets by cutting each dough round into halves. Lightly flour a surface and roll each portion to about 1/8-inch thickness. Keep the edges slightly thicker to support sealing. Assemble the pockets: Spoon 2 to 3 tablespoons of sauce onto one half of each dough piece, leaving a 1/2-inch border. Add the cheese and filling—don’t overfill; too much filling causes leaks. Fold the dough over and press the edges together, crimping with a fork to seal. Cut two small vents on top to allow steam to escape so the interior doesn’t become soggy. Finish and bake: Brush each pocket with 1 tablespoon olive oil mixed with a pinch of Italian seasoning. Transfer to the preheated baking sheet and bake for 14 to 18 minutes, until the pockets are golden brown and the edges are set. Let rest 3 to 5 minutes before serving to allow the filling to settle and prevent burns from hot cheese.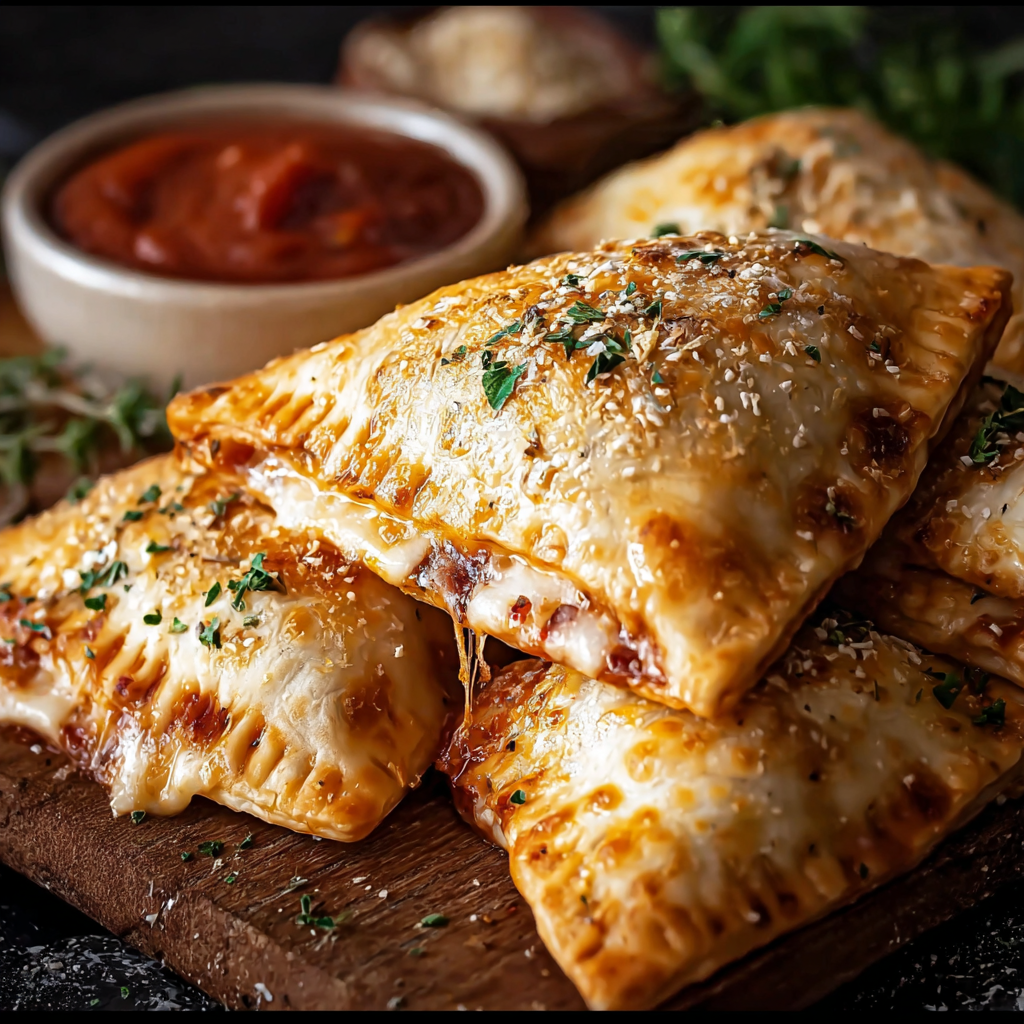
You Must Know
- These pockets hold up well in the freezer for up to 3 months when flash-frozen on a tray and stored in an airtight bag.
- Thaw in the refrigerator overnight for best reheating results, or bake from frozen at 400°F for 18 to 22 minutes, adding a few minutes as needed.
- High-protein option: each pocket delivers a solid amount of protein from the cheese and pepperoni; the broccoli version boosts fiber and vitamin C.
- Watch for steam burns: allow pockets to rest for a few minutes so the hot filling cools and settles before biting into them.
My favorite aspect of these pockets is how adaptable they are. I’ve served them at casual parties sliced into hand-sized wedges and sent them off in kid lunches wrapped in foil. One memorable Sunday I made both varieties and tucked extras into the freezer; over the following weeks they were the quick dinners that felt homemade rather than takeout.
Storage Tips
Cool pockets completely before storing to avoid condensation. For short-term storage, place in an airtight container in the refrigerator for up to 3 days. For longer storage, flash-freeze on a tray until solid, then transfer to a zipper bag or airtight container and store for up to 3 months. When reheating from frozen, arrange pockets on a baking sheet and bake at 400°F for 18 to 22 minutes, covering loosely with foil if they brown too quickly. For crispier results, reheat in a 375°F oven for 10 to 12 minutes after thawing for a fresh-baked texture.

Ingredient Substitutions
If you want a whole-wheat option, use a refrigerated whole-wheat pizza crust but note it may be a bit denser; roll it slightly thinner. For dairy-free versions, substitute dairy-free shredded cheese and skip pepperoni or use plant-based pepperoni alternatives. If you don’t have Borden cheeses, any good melting mozzarella or sharp cheddar will work; expect slight changes in melt and flavor. Swap pepperoni for cooked sausage or diced ham for a meatier pocket. For the broccoli filling, fresh broccoli steamed for 1 to 2 minutes and finely chopped provides excellent texture compared to thawed frozen broccoli.
Serving Suggestions
Serve these pockets hot with a small ramekin of warmed pizza sauce for dipping and a bright side salad to cut the richness. For a party, slice pockets into halves or thirds and arrange with toothpicks for easy sharing. Garnish with a sprinkle of extra shredded cheese, chopped fresh basil, or a dusting of grated Parmesan for a restaurant-style finish. Pair with roasted vegetables in cooler months or a crisp cucumber-tomato salad in summer for a balanced plate.
Meal Prep Tips
To meal prep, assemble pockets on a baking sheet, freeze until firm, then stack in a freezer bag labeled with the date. For grab-and-go breakfasts or lunches, reheat a frozen pocket in the oven and transfer to foil for packing; it will keep warm for a short commute. If you’re preparing several varieties, mark the packaging with a colored sticker or small notch to identify fillings. I often double the recipe on Sunday and freeze half—this saves time while ensuring homemade quality during a busy week.
Seasonal Adaptations
Adjust fillings by season: in winter, add caramelized onions and roasted mushrooms with the cheddar for an earthy twist; in summer, mix roasted cherry tomatoes and fresh basil into the classic pocket for a brighter profile. Holiday gatherings are a great time to offer themed fillings—themed spices or a sprinkle of truffle oil for a special occasion. Small swaps like swapping pepperoni for roasted butternut squash and sage make them feel autumn-ready without changing technique.
These pockets bring the joy of pizza into a portable format that’s forgiving and adaptable. Try both versions, experiment with fillings, and make them your own—they’re the sort of recipe that keeps giving, from quick dinners to freezer rescues.
Pro Tips
Brush pockets with olive oil before baking for a golden, crisp crust and better color.
Vent each pocket with two small slits to release steam and prevent soggy interiors.
Do not overfill; 2 to 3 tablespoons of filling gives the best balance between structure and flavor.
This nourishing homemade pizza pockets recipe is sure to be a staple in your kitchen. Enjoy every moist, high protein slice — it is perfect for breakfast or as a wholesome snack any time.
FAQs about Recipes
Can I bake the pockets from frozen?
Yes. Arrange pockets on a baking sheet and bake from frozen at 400°F for 18 to 22 minutes, or until heated through and golden.
How long do these keep in the freezer?
Freeze on a tray until solid, then transfer to an airtight bag. They keep for up to 3 months.
Tags
Homemade Pizza Pockets
This Homemade Pizza Pockets recipe makes perfectly juicy, tender, and flavorful steak every time! Serve with potatoes and a side salad for an unforgettable dinner in under 30 minutes.
Ingredients
Classic Pizza Calzone
Broccoli & Cheddar Pizza Calzone
Instructions
Prepare the fillings
Assemble the fillings separately. For the classic version combine sauce, cheese, pepperoni and olives. For the broccoli version squeeze excess moisture from thawed broccoli and combine with cheeses. Keep portions modest to avoid sogginess.
Preheat and prepare oven
Preheat oven to 425°F and heat a baking sheet inside to ensure a crisp bottom. Use a center rack position for even browning.
Roll and portion dough
Divide refrigerated crust into portions and roll to about 1/8-inch thickness. Leave a slightly thicker edge to seal. Cut portions so each crust yields two pockets.
Assemble and seal pockets
Spoon sauce and filling onto one side of each dough portion, leaving a 1/2-inch border. Fold dough over, press edge firmly, and crimp with a fork. Cut vents on top to allow steam to escape.
Brush, bake and rest
Brush with olive oil mixed with Italian seasoning and bake on the preheated sheet for 14 to 18 minutes until golden. Let rest 3 to 5 minutes before serving.
Last Step: Please leave a rating and comment letting us know how you liked this recipe! This helps our business to thrive and continue providing free, high-quality recipes for you.
Nutrition
Did You Make This?
Leave a comment & rating below or tag
@festive-cooks on social media!
Categories:
You might also like...

Air Fryer Bang Bang Cauliflower
Crispy air fryer cauliflower tossed in a creamy sweet-spicy bang bang sauce for a crowd-pleasing, quick appetizer or weeknight treat.

Air Fryer Buffalo Cauliflower
Crispy battered cauliflower florets tossed in a tangy buffalo sauce, ready in the air fryer for a spicy, crowd pleasing snack or light meal.

Air Fryer Honey Butter Garlic Chicken
Crispy, juicy chicken tossed in a glossy honey-butter-garlic glaze — ready in minutes with an air fryer for an easy weeknight favorite.
Did You Make This?
Leave a comment & rating below or tag @festive-cooks on social media!
Rate This Recipe
Share This Recipe
Enjoyed this recipe? Share it with friends and family, and don't forget to leave a review!
Comments (1)
This recipe looks amazing! Can't wait to try it.
Comments are stored locally in your browser. Server comments are displayed alongside your local comments.

Hi, I'm Jessica!
What's Popular

30-Minute Meals!
Join to receive our email series which contains a round-up of some of our quick and easy family favorite recipes.