
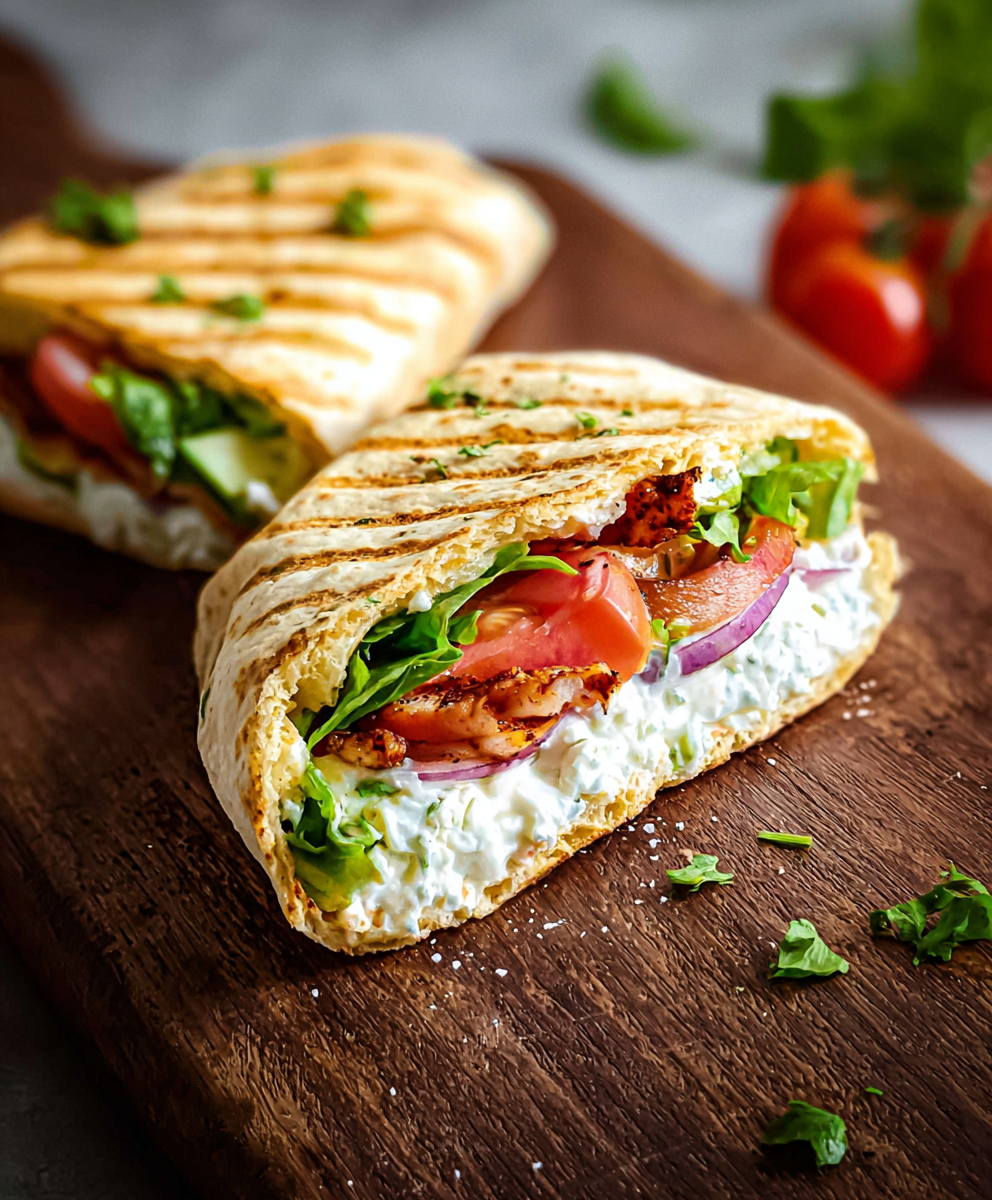
Cottage Cheese Wraps

A light, high-protein alternative to store-bought wraps made from cottage cheese, eggs, and Parmesan — thin, flexible, and perfect for savory fillings.
This simple cottage cheese wrap has become a weekday staple in my kitchen when I want something light, flexible, and high in protein. I first stumbled upon the idea on a busy morning when the pantry was low and I wanted an alternative to store-bought tortillas. The result was surprisingly tender, with a delicate golden surface and a neutral, slightly tangy flavor that takes fillings beautifully. I love how quick it is to make and how customizable the fillings can be for breakfast, lunch, or a light dinner.
What makes this method special is the silky batter created by blending full-fat cottage cheese with eggs and grated Parmesan. That smooth batter bakes into a pliable sheet that can be rolled or folded without cracking when cooled properly. Because the base ingredients are shelf-stable or easy to find at any grocery store, I can whip up a fresh batch in under an hour and assemble wraps for the whole family in minutes.
Why You'll Love This Recipe
- This is ready in about 45 minutes from start to finish and uses just pantry-friendly staples such as cottage cheese, eggs, and Parmesan.
- The texture is thin, flexible, and slightly tender, so fillings stay secure while providing a neutral base that complements bold flavors.
- It is naturally high in protein and low in carbohydrates, which makes it an excellent choice for lighter meals and for those following a low-carb approach.
- Make-ahead friendly: you can prepare the sheet the day before and assemble wraps in the morning, saving time on busy days.
- Customizable: swap seasonings, add herbs, or use different cheeses to tailor taste and texture for breakfast, lunch, or snacks.
My family’s reaction when I first served these was immediate approval; skeptical teenagers declared them “actually good” and asked for second helpings. Over time I learned which fillings keep the wraps stable and which ones make them soggy, and I now enjoy experimenting with Mediterranean and Asian-inspired fillings depending on the week.
Ingredients
- Full-fat cottage cheese (1 cup): Look for small-curd cottage cheese with a creamy texture. Full-fat gives better mouthfeel and helps the sheet hold together. Brands I trust include Breakstone’s and Good Culture.
- Large eggs (2): Use room-temperature eggs if possible; they emulsify more evenly with the cottage cheese and give the sheet elasticity when baked.
- Grated Parmesan (4 tbsp): Freshly grated Parmesan (Parmigiano-Reggiano or Grana Padano) melts and adds savory depth. Avoid pre-shredded blends that contain anti-caking agents.
- Garlic powder (1 tsp): Adds gentle aroma without overpowering. Adjust to taste or substitute a pinch of onion powder for variation.
- Italian seasoning (1 tsp): A balanced herb blend of oregano, basil, and thyme. Use a high-quality jarred blend or a homemade mix for a fresher note.
Instructions
Preheat and prepare: Preheat the oven to 350°F (175°C) and line a large baking sheet with parchment paper. Use a tray at least 12 by 16 inches so you can spread the batter thinly and evenly. Lining with parchment prevents sticking and makes it easy to peel the wrap once cooled. Blend until silky smooth: Combine the full-fat cottage cheese, eggs, grated Parmesan, garlic powder, and Italian seasoning in a blender or food processor. Blend for about 60 seconds until the mixture is completely smooth and free of curds. You want a pourable batter with no visible lumps, as this ensures an even bake and a tender final texture. Spread into a thin sheet: Pour the batter onto the prepared parchment-lined tray and use a silicone spatula to spread it into a thin, uniform rectangle roughly 10 by 14 inches. Aim for an even thickness across the entire surface; thin spots will crisp faster. Work quickly so the batter doesn’t begin to set before it’s evened out. Bake until set: Place the tray in the center of the oven and bake for 30 to 35 minutes. Look for a set top that is lightly golden and no longer jiggly. Ovens vary, so if the edges brown faster than the center, rotate the tray halfway through baking for even color. Cool completely: Remove the sheet from the oven and let it cool completely on the tray, at least 20 to 30 minutes. Cooling is critical: the wrap firms as it cools and will peel cleanly from the parchment. If you try to lift it while warm, it will be fragile and may tear. Slice and assemble: Once cool, carefully peel the sheet from the parchment and transfer to a cutting board. Cut into two equal sections and fill with your choice of ingredients. Roll or fold gently and serve immediately, or wrap individually and refrigerate for later.
You Must Know
- The sheet needs to cool completely before peeling; this is the single most important step to avoid tearing and ensure flexibility.
- This method produces a high-protein, relatively low-carbohydrate wrap ideal for lighter meals and flexible dietary plans.
- Store in an airtight container in the refrigerator for up to 3 days, or freeze portions flat for up to 3 months.
- Reheat gently in a low oven or warm skillet to avoid drying; avoid microwaving at high power which can make the wrap rubbery.
One of my favorite aspects is how forgiving the recipe is: once you nail the blending and cooling, the rest is assembly. I remember preparing a double batch for a picnic; the wraps traveled well and held up under a variety of fillings from roasted vegetables to sliced turkey and avocado.
Storage Tips
Store finished wraps in the refrigerator between layers of parchment or in an airtight container to prevent moisture buildup. Use within three days for best texture. For longer storage, flash-freeze single layers on a tray until firm, then stack with parchment between each and transfer to a freezer bag for up to three months. To thaw, move to the refrigerator overnight, then bring to room temperature before assembling. Reheat gently in a 300°F oven for a few minutes or warm in a skillet over low heat; avoid high heat that will dry them out.
Ingredient Substitutions
For a lighter profile, substitute low-fat cottage cheese, but expect a slightly firmer, less tender sheet. Swap Parmesan for Pecorino Romano for a sharper note, or use a mild Asiago to keep flavors subtle. If you prefer herb-forward wraps, add 1 tablespoon finely chopped fresh parsley and 1 tablespoon chopped fresh chives to the batter. To make the wrap dairy-free or vegan is challenging because cottage cheese and eggs form the structure; for plant-based alternatives consider chickpea flour crepes, though texture and nutritional profile will differ significantly.
Serving Suggestions
These wraps pair beautifully with Mediterranean fillings such as hummus, roasted red peppers, spinach, cucumber, and grilled chicken. For breakfast, spread with mashed avocado, smoked salmon, and a squeeze of lemon. For a quick lunch, try sliced turkey, arugula, sun-dried tomatoes, and a smear of pesto. Garnish with microgreens or a sprinkle of flaky sea salt to elevate presentation. They work well for picnic platters and can be cut into pinwheels for entertaining.

Cultural Background
Sheets made from dairy and eggs have roots in many cuisines that value simple, high-protein breads and wraps. While not tied to one particular tradition, this approach is similar in spirit to baked egg wraps and crustless quiches found across Europe. The technique of blending dairy and eggs to create a pliable sheet is a modern adaptation driven by low-carb and high-protein eating trends, merging traditional pantry ingredients with contemporary dietary preferences.
Seasonal Adaptations
Adapt fillings based on seasonal produce: spring brings crisp asparagus, peas, and fresh herbs; summer is perfect for heirloom tomatoes, basil, and grilled zucchini; autumn lends itself to roasted root vegetables and caramelized onions; winter calls for hearty roasted squash, sautéed mushrooms, and slow-roasted tomatoes. Adjust seasoning in the batter with a pinch of smoked paprika or chopped rosemary for seasonal character.
Meal Prep Tips
Make a double batch of the sheet and store individual wraps separated by parchment in the refrigerator for quick weekday assembly. Pre-portion fillings into meal containers and assemble in the morning or at lunchtime. For office lunches, keep wet ingredients like tomatoes in a separate container to prevent sogginess. Use containers with airtight lids and a paper towel in the container to absorb excess moisture if you plan to store fillings with the wraps.
These cottage cheese wraps are an inviting blank canvas that reward a little attention to cooling and assembly. They offer a satisfying, lighter alternative to traditional commercial tortillas and invite experimentation with flavors and fillings. Try them once and you’ll likely add them to your rotation for quick, protein-rich meals.
Pro Tips
Blend the cottage cheese and eggs until completely smooth to ensure a uniform texture and even baking.
Allow the sheet to cool fully on the tray before attempting to peel it from the parchment paper to avoid tearing.
Rotate the baking tray halfway through cooking if your oven has hot spots to achieve even browning.
Store wraps separated by parchment and keep wet fillings in a separate container to prevent sogginess.
This nourishing cottage cheese wraps recipe is sure to be a staple in your kitchen. Enjoy every moist, high protein slice — it is perfect for breakfast or as a wholesome snack any time.
Tags
Cottage Cheese Wraps
This Cottage Cheese Wraps recipe makes perfectly juicy, tender, and flavorful steak every time! Serve with potatoes and a side salad for an unforgettable dinner in under 30 minutes.
Instructions
Preheat and prepare
Preheat oven to 350°F (175°C). Line a large baking sheet with parchment paper to prevent sticking and allow easy removal after cooling.
Blend ingredients
Combine cottage cheese, eggs, grated Parmesan, garlic powder, and Italian seasoning in a blender or food processor. Blend for 1 minute or until the batter is completely smooth and pourable with no visible curds.
Spread on tray
Pour the batter onto the parchment-lined tray and use a silicone spatula to spread into a thin, uniform rectangle. Aim for consistent thickness across the entire surface to ensure even baking.
Bake until set
Bake in the center of the oven for 30 to 35 minutes, or until the top is set and lightly golden. Rotate the tray halfway if your oven has uneven heat.
Cool and peel
Let the sheet cool completely on the tray for 20 to 30 minutes. Once cool, carefully peel the wrap off the parchment and cut into two sections to fill and roll.
Last Step: Please leave a rating and comment letting us know how you liked this recipe! This helps our business to thrive and continue providing free, high-quality recipes for you.
Nutrition
Did You Make This?
Leave a comment & rating below or tag
@festive-cooks on social media!
Categories:
You might also like...

Air Fryer Bang Bang Cauliflower
Crispy air fryer cauliflower tossed in a creamy sweet-spicy bang bang sauce for a crowd-pleasing, quick appetizer or weeknight treat.

Air Fryer Buffalo Cauliflower
Crispy battered cauliflower florets tossed in a tangy buffalo sauce, ready in the air fryer for a spicy, crowd pleasing snack or light meal.

Air Fryer Honey Butter Garlic Chicken
Crispy, juicy chicken tossed in a glossy honey-butter-garlic glaze — ready in minutes with an air fryer for an easy weeknight favorite.
Did You Make This?
Leave a comment & rating below or tag @festive-cooks on social media!
Rate This Recipe
Share This Recipe
Enjoyed this recipe? Share it with friends and family, and don't forget to leave a review!
Comments (1)
This recipe looks amazing! Can't wait to try it.
Comments are stored locally in your browser. Server comments are displayed alongside your local comments.

Hi, I'm Jessica!
What's Popular

30-Minute Meals!
Join to receive our email series which contains a round-up of some of our quick and easy family favorite recipes.