
Christmas Pinwheel Cookies

Fun, festive pinwheel cookies that combine tender buttery dough with bright red and green spirals — perfect for holiday cookie swaps and family baking days.

This batch of Christmas pinwheel cookies has been a holiday tradition in my kitchen for years. I first discovered the technique while helping my sister prepare for a neighborhood cookie exchange; we wanted something that looked impressive but was simple enough for a crowded kitchen. The spiral effect — bright red, green, and plain buttery dough — always gets a gasp the moment the box is opened. The combination of a tender, slightly crisp edge and soft interior makes them irresistible, and they slice into cheerful rounds that are perfect for gifting.
I love these cookies because they marry show-stopping presentation with pantry-friendly ingredients. The dough is forgiving: it tolerates short pauses in the fridge and still rolls out smoothly. I most often make these with Kerrygold or any European-style butter for a richer flavor, and I use a high-quality vanilla like McCormick or Nielsen-Massey for a fragrant background note. Baking these has become part of our holiday memories — my kids help press on the sanding sugar and watch the spirals appear like little edible ornaments.
Why You'll Love This Recipe
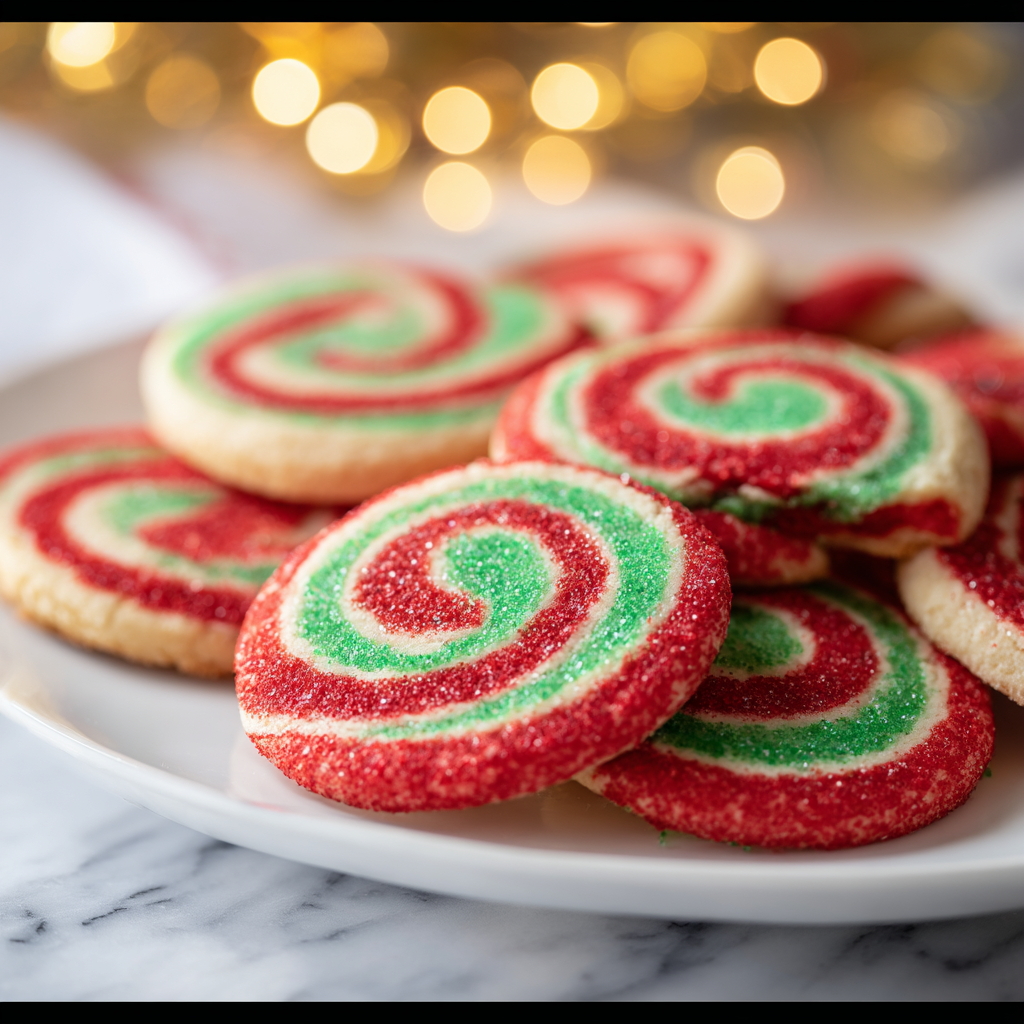
- Visual impact: The red and green spirals look festive and professional, yet the method is simple enough for beginners; the finished tray is always the most photographed at parties.
- Time-smart: Active prep is under 30 minutes; most of the time is hands-off chilling (about 1 hour) so it's great for multitasking while preparing other holiday dishes.
- Pantry-friendly: Uses basic baking staples — butter, sugar, flour, an egg, and small amounts of food coloring — so you likely have everything on hand.
- Make-ahead friendly: Dough can be refrigerated for a few days or frozen for longer storage, making cookie-day planning much easier.
- Kid-friendly tasks: Coloring dough, rolling between parchment, and sprinkling sanding sugar are perfect small jobs for little helpers.
- Customizable: The basic method adapts to other seasonal colorways or flavor additions like cocoa or citrus zest.
In my experience, once you get the rhythm of rolling and layering these sheets, assembly becomes almost meditative. At one neighborhood swap I watched everyone pick these first — the colors and buttery scent are irresistible. They also travel well in tins, which makes them ideal for holiday gifting.
Ingredients
- Unsalted butter (2/3 cup): Use high-quality, full-fat butter (European-style if available). Softened to room temperature but not melted — this gives a tender crumb and richer mouthfeel. Brands I like: Kerrygold or Plugrá.
- Granulated sugar (2/3 cup): Standard white sugar provides structure and a slight crunch on the edges; measure by spooning into a cup and leveling for accuracy.
- Large egg (1): Brings richness and helps bind the dough; use an egg at room temperature so it incorporates smoothly.
- Vanilla extract (1 tsp): Adds depth; pure vanilla is preferable to imitation for the cleanest flavor.
- All-purpose flour (1 3/4 cups): King Arthur or Gold Medal both work well. The flour gives the dough structure — measure accurately by spooning and leveling or use a scale (about 220 g).
- Kosher salt (1/2 tsp): Enhances flavor; if using table salt, reduce slightly.
- Baking soda (1/4 tsp): A touch of leavening to ensure the dough is light, but not cake-like.
- Red and green gel food coloring: Gel colors give vivid color without adding extra liquid; use a toothpick at a time until you reach the desired hue.
- Red sanding sugar: For garnish and extra sparkle; opt for fine sanding sugar so it adheres easily when pressed.
Instructions
Cream the butter and sugar: In the bowl of a stand mixer fitted with the paddle attachment, beat 2/3 cup softened unsalted butter with 2/3 cup sugar at medium speed until light and creamy, about 3–4 minutes. Proper creaming traps air and gives a tender texture — scrape the bowl halfway through to ensure even mixing. Add egg and vanilla: With the mixer on low, add 1 large room-temperature egg and 1 teaspoon vanilla extract. Beat until fully incorporated and the mixture is smooth; this adds richness and helps bind the flour later. Combine dry ingredients: In a separate bowl whisk together 1 3/4 cups all-purpose flour, 1/2 teaspoon kosher salt, and 1/4 teaspoon baking soda. Whisking distributes the leavening and salt evenly, preventing streaks or uneven rise. Mix to form dough: With the mixer on low, gradually add the dry ingredients to the wet until just combined. Overmixing develops gluten and makes cookies tough; stop when no dry streaks remain. Remove dough and divide into three equal portions. Color the portions: Return one portion to the mixer bowl and add red gel food coloring, mixing until uniformly colored. Wipe bowl clean, color another portion green, and leave the final portion plain. Shape each into a ball, wrap tightly in plastic wrap, and chill for 1 hour to firm the dough for rolling. Roll dough into sheets: Remove chilled dough and roll each ball between two sheets of parchment into roughly 7-inch squares. Keep the dough chilled between rolls; if it softens, return to the fridge for 10–15 minutes. Layer and form the spiral: Peel parchment from one colored sheet and stack the three squares (for example, green on bottom, plain in the middle, red on top), pressing gently to adhere. Trim edges to square up layers if needed, then using the parchment to help, roll the layered stack tightly from one edge to form a log. Wrap in plastic and refrigerate at least 30 minutes (or up to 2 hours) — chilling prevents the log from deforming when slicing. Slice and bake: Preheat oven to 350°F (175°C). Line baking sheets with parchment. Slice the chilled log into 1/4-inch to 3/8-inch rounds and place 1 inch apart on prepared sheets. Bake 10–12 minutes until edges are set and bottoms are lightly golden. Rotate pans halfway through baking for even color. Cool and garnish: Cool cookies on the sheet for 3 minutes, then transfer to a wire rack to cool completely. Press a little red sanding sugar on a few red spirals while still warm for sparkle.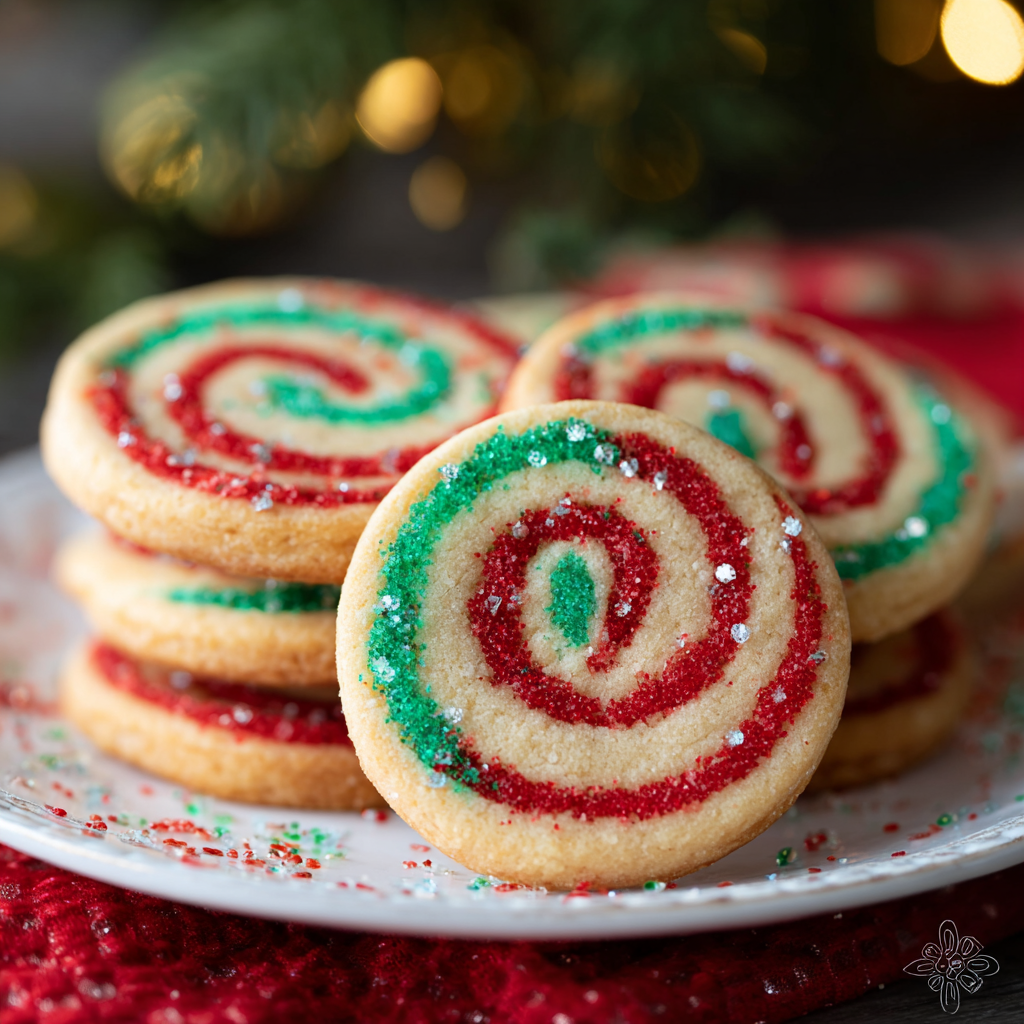
You Must Know
- These cookies freeze well: freeze the formed log for up to 3 months, then slice and bake from frozen with an extra minute or two of baking time.
- They are moderately sweet and rich — a little goes a long way, which makes them perfect for cookie tins and parties.
- Store cooled cookies in an airtight container at room temperature for up to 5 days; place parchment between layers to prevent sticking.
- If the dough softens while rolling, refrigerate for 10–20 minutes — cold dough is easier to handle and preserves clean spirals.
My favorite part of this method is how reliably it produces consistent slices: once you form a tight log and chill it properly, each round is a near-identical festive emblem. At family gatherings we always have a steady supply of these because they disappear first — the colors are irresistible to kids and adults alike.
Storage Tips
Store completely cooled cookies in an airtight container layered with parchment or wax paper to prevent sticking; they will remain fresh at room temperature for up to five days. For longer storage, freeze baked cookies in a single layer on a tray, then transfer to a freezer-safe container for up to 3 months. When freezing unbaked logs, wrap tightly in plastic and foil — slice and bake directly from frozen for best results, adding 1–2 minutes to bake time. For travel, pack in tins with a layer of bubble wrap or towels to protect delicate edges.
Ingredient Substitutions
For a dairy-free version, substitute vegan stick butter and use a flax egg (1 tbsp ground flax + 3 tbsp water) — but expect a slightly different texture and milder flavor. To make chocolate-swirled pinwheels, replace 1/4 cup of the plain dough with 1/4 cup Dutch-process cocoa and 2–3 tbsp powdered sugar to maintain consistency. If you need gluten-free, use a 1:1 gluten-free baking flour blend with xanthan gum; rest the dough slightly longer to hydrate the flour before rolling.
Serving Suggestions
Arrange rounds on a festive platter with sprigs of rosemary or holly for contrast, or stack in cellophane bags tied with ribbon for gifting. They pair beautifully with mulled cider, hot chocolate, or a simple cup of black tea. For a holiday brunch, serve alongside coffee cake and fruit; for a dessert table, place near other small bites so guests can sample multiple flavors.
Cultural Background
Swirled or spiral cookies appear in many baking traditions, from Italian pinwheel cookies to Scandinavian rolled varieties. The modern red-and-green colorway is a distinctly American holiday adaptation, designed to evoke classic Christmas hues. This type of layered and rolled dough is an approachable cousin to more elaborate laminated pastries, offering impressive visual results with straightforward technique.
Seasonal Adaptations
Adjust colors for other holidays — use pastel tones for Easter, orange and black for Halloween, or team colors for game-day treats. Swap in citrus zest for a winter-bright note, or add a pinch of cinnamon and nutmeg to the dough for a warm holiday spice. For a winter party, roll in crushed peppermint candies or top warm cookies with a light glaze and crushed candy cane.
Success Stories
At one cookie exchange a friend replicated the method and doubled the batch; she later told me these were the only cookies left at the end. Another memory: my daughter proudly brought a tin to her class exchange and reported classmates asking for the recipe. Those small moments — seeing someone light up at the first bite — are exactly why I keep making these.
Meal Prep Tips
Make the dough up to 48 hours ahead and keep chilled until ready to slice and bake. For larger batches, form multiple logs and freeze individually; defrost in the fridge overnight if you prefer slicing from a slightly softened state. Use a sharp serrated knife dipped in hot water and wiped dry between cuts for clean slices, and keep the log chilled if you're slicing many rounds to prevent smear.
These pinwheel cookies are a simple way to bring color and cheer to the holidays — they’re approachable, flexible, and reliably delightful. Give the dough a gentle hand and plenty of chilling time, and you’ll be rewarded with tidy spirals and crisp, buttery rounds that everyone will remember.
Pro Tips
Chill the log thoroughly before slicing to maintain clean spirals and prevent the dough from deforming.
If the dough softens while rolling, refrigerate for 10–20 minutes — cold dough is much easier to handle.
Use gel food coloring to minimize added moisture and achieve vibrant colors with small amounts.
This nourishing christmas pinwheel cookies recipe is sure to be a staple in your kitchen. Enjoy every moist, high protein slice — it is perfect for breakfast or as a wholesome snack any time.
FAQs about Recipes
Can I freeze the dough?
Yes — freeze the formed log for up to 3 months. Slice and bake from frozen adding 1–2 minutes to the bake time.
What's the best way to color the dough?
Use gel colors a little at a time to reach vivid tones; liquid food coloring can make the dough too soft.
Tags
Christmas Pinwheel Cookies
This Christmas Pinwheel Cookies recipe makes perfectly juicy, tender, and flavorful steak every time! Serve with potatoes and a side salad for an unforgettable dinner in under 30 minutes.
Ingredients
Dough
Decoration
Instructions
Cream butter and sugar
Beat softened butter and granulated sugar at medium speed until light and creamy, about 3–4 minutes. Scrape the bowl as needed.
Add egg and vanilla
Mix in the room-temperature egg and vanilla until fully incorporated and smooth.
Combine dry ingredients
Whisk flour, salt, and baking soda in a separate bowl to ensure even distribution before adding to the wet mixture.
Form and divide dough
Add dry ingredients slowly to the mixer on low, combine until no dry streaks remain, then divide the dough into three equal portions.
Color and chill portions
Color one portion red and one green using gel food coloring; leave one plain. Shape into balls, wrap each in plastic, and chill for 1 hour.
Roll layers and form log
Roll each chilled portion between parchment into 7-inch squares, stack the sheets, roll tightly into a log using the parchment to guide, and chill 30–60 minutes.
Slice and bake
Preheat oven to 350°F (175°C). Slice the chilled log into 1/4–3/8 inch rounds, place on lined baking sheets, and bake 10–12 minutes until edges set. Cool on racks and garnish.
Last Step: Please leave a rating and comment letting us know how you liked this recipe! This helps our business to thrive and continue providing free, high-quality recipes for you.
Nutrition
Did You Make This?
Leave a comment & rating below or tag
@festive-cooks on social media!
Categories:
You might also like...

Air Fryer Bang Bang Cauliflower
Crispy air fryer cauliflower tossed in a creamy sweet-spicy bang bang sauce for a crowd-pleasing, quick appetizer or weeknight treat.

Air Fryer Buffalo Cauliflower
Crispy battered cauliflower florets tossed in a tangy buffalo sauce, ready in the air fryer for a spicy, crowd pleasing snack or light meal.

Air Fryer Honey Butter Garlic Chicken
Crispy, juicy chicken tossed in a glossy honey-butter-garlic glaze — ready in minutes with an air fryer for an easy weeknight favorite.
Did You Make This?
Leave a comment & rating below or tag @festive-cooks on social media!
Rate This Recipe
Share This Recipe
Enjoyed this recipe? Share it with friends and family, and don't forget to leave a review!
Comments (1)
This recipe looks amazing! Can't wait to try it.
Comments are stored locally in your browser. Server comments are displayed alongside your local comments.

Hi, I'm Jessica!
What's Popular

30-Minute Meals!
Join to receive our email series which contains a round-up of some of our quick and easy family favorite recipes.