
Chocolate Raspberry Crinkles

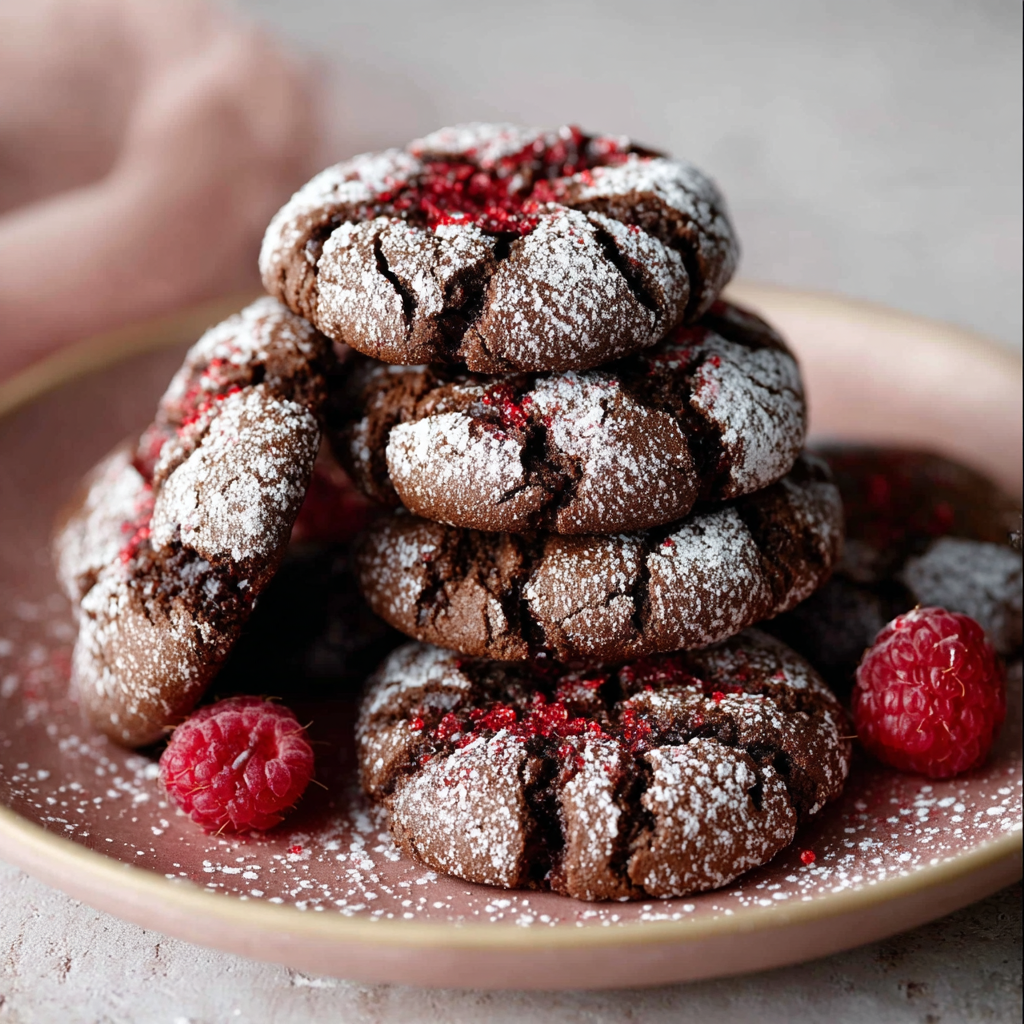
Fudgy, crackled chocolate cookies with a bright raspberry center and a snowy coating of powdered sugar and crushed freeze-dried raspberries — a festive treat for holidays and everyday celebrations.

Why You'll Love This Recipe
- Fudgy, not cakey: the high butter and cocoa ratio keeps the interior dense and tender while the exterior forms a delicate crackle that highlights the jammy center.
- Quick to prepare: active assembly takes about 20 minutes and the cookies bake in a short 10–12 minutes — perfect for last-minute parties or cookie exchanges.
- Pantry-friendly: most ingredients are staples (butter, sugar, flour, cocoa); the raspberry preserves and freeze-dried raspberries add bright flavor without complicated steps.
- Make-ahead friendly: dough can be chilled or frozen for later baking, and baked cookies freeze well up to 3 months, making it great for batch baking.
- Eye-catching finish: rolling in powdered sugar and crushed freeze-dried raspberries creates a dramatic, festive look and a burst of fresh-tasting raspberry on the first bite.
- Adaptable: swap vanilla for raspberry liqueur for an adult twist, or use dark cocoa for deeper chocolate notes.
Personally, I love that these bring people together. At one holiday party a neighbor told me they tasted like a tiny chocolate tart in cookie form, and my niece declared them her favorite cookie ever. Each batch I make reveals little improvements — a touch less mixing, a slightly cooler oven — and that learning curve keeps them delightful year after year.
Ingredients
- Unsalted butter (1/2 cup / 8 Tbsp): Softened to room temperature — use a high-quality European-style butter if you want a richer mouthfeel. Butter contributes both flavor and structure; don’t melt it or the dough will be too loose.
- Neutral oil (1 Tbsp): Vegetable, avocado, or light olive oil keeps the crumb tender and helps the dough spread correctly; use a neutral-flavored oil if you want pure chocolate flavor to dominate.
- Granulated sugar (1/2 cup): Gives structure to the cookie and helps the crackled surface form; use standard white sugar and measure by spooning into the cup if you’re not weighing.
- Packed light or dark brown sugar (1/2 cup): Adds moisture and a touch of caramel depth; dark brown will yield a richer, slightly molassesy note that pairs beautifully with cocoa.
- Large egg (1): Brings lift and helps bind the dough; room temperature ensures even incorporation and stable emulsion with the fats.
- Vanilla extract or raspberry liqueur (1 tsp): Vanilla adds warmth; raspberry liqueur (such as Chambord) emphasizes the fruit note for a more grown-up cookie.
- All-purpose flour (1 1/2 cups): Spoon and level into the cup for accuracy. Flour provides framework — too much will make the cookies dry, so measure carefully.
- Unsweetened natural cocoa powder (2/3 cup): Use natural cocoa for bright acidity and crackle formation; Dutch-process will give a darker color and smoother flavor but may slightly change rise.
- Baking soda (1 tsp) and salt (1/8 tsp): Baking soda gives a light lift and helps edges develop; salt balances sweetness and amplifies chocolate.
- Raspberry preserves (1/3 cup): Look for a seedless preserve or slightly strained jam so the center remains smooth; high-fruit content preserves will taste fresher.
- Confectioners’ sugar (3/4 cup): For the snow-like coating; sift if lumpy.
- Freeze-dried raspberries (1/2 cup): Crushed to a coarse powder, they add intense raspberry flavor and a striking pink fleck to the coating without introducing moisture.
Instructions
Step 1 — Prep and preheat: Preheat your oven to 350°F (175°C). Line two baking sheets with parchment paper or silicone mats and set up a cooling rack. Measure ingredients carefully: spoon flour into the cup and level, and weigh the cocoa if you have a scale — accuracy yields consistent crackles and texture. Step 2 — Cream fats and sugars: In a mixing bowl, beat the softened butter, oil, granulated sugar, and brown sugar together on medium speed until combined and slightly fluffy, about 1–2 minutes. Over-doing the creaming incorporates too much air and can make the cookies cakey; aim for a soft, cohesive mixture. Step 3 — Add egg and flavor: Add the egg and vanilla or raspberry liqueur and beat until just combined. Scrape the bowl; the mixture should be glossy but not loose. The egg helps the dough set while the liqueur boosts fruit aroma without extra sugar. Step 4 — Combine dry ingredients: Whisk the flour, cocoa powder, baking soda, and salt in a separate bowl to remove lumps and evenly distribute rising agents. Sifting is optional but recommended for a uniform cocoa blend and a sleeker surface. Step 5 — Fold dough: Fold the dry ingredients into the wet with a spatula until a homogenous dough forms. Don’t overmix — stop when no streaks of flour remain. The dough should be slightly sticky and hold together when pressed. Step 6 — Portion and fill: Using a small cookie scoop (about 1 tablespoon), portion dough into balls. Flatten each ball slightly, make an indent in the center with your thumb or the back of a teaspoon, and add about 1/2 teaspoon of raspberry preserves into the well. Gently cover the jam with a little more dough so it sits nestled but won’t ooze out completely. Step 7 — Chill briefly: Chill the filled dough balls for 10–20 minutes on the tray. Chilling firms the exterior so the cookies crack attractively without losing all their jam during the rise. Step 8 — Roll in coating and bake: Roll each chilled ball in confectioners’ sugar, then in the crushed freeze-dried raspberries (or combine them together before rolling for an even speckled effect). Place balls 2 inches apart on the baking sheets. Bake 10–12 minutes until edges are set and crackles have formed; cookies will look slightly underbaked in the center but will firm as they cool. Step 9 — Cool and store: Let cookies cool on the baking sheet for 5 minutes, then transfer to a rack to cool completely. Store in an airtight container layered with parchment at room temperature up to 4 days, or freeze for longer storage.
You Must Know
- These are best eaten within 2–3 days at room temperature; they freeze well for up to 3 months when layered between parchment in a freezer-safe container.
- The cookies are moderately high in fat and sugar — each cookie is an indulgent treat; consider serving smaller portions for big gatherings.
- Freeze-dried raspberries provide intense raspberry flavor without liquid; fresh raspberries are not recommended for the coating because they add moisture.
- For travel and gifting, place cookies in a single layer with parchment separators to protect the crackled surface; they tolerate brief carriage times very well.
My favorite thing about these is the contrast: chocolate depth with a bright, fruity center. At a cookie swap one year, someone guessed they were filled with ganache until they bit into the fruity center — the surprise always makes people smile. These cookies feel elevated but are straightforward enough to make for a weekday bake sale or a special holiday platter.
Storage Tips
Store cooled cookies in an airtight container at room temperature for up to 4 days. To maintain the crackled exterior and powdered sugar appearance, separate layers with parchment. For longer storage, freeze in a single layer for 1 hour, then transfer to a freezer-safe container with parchment between layers; frozen cookies keep up to 3 months. To reawaken texture, defrost at room temperature for 30 minutes and warm briefly in a 300°F (150°C) oven for 3–4 minutes if you want the jam slightly melted again.
Ingredient Substitutions
If you need to swap ingredients, use coconut oil in place of vegetable oil for a subtle tropical note, or use light olive oil for a peppery nuance — both help keep the interior tender. For a dairy-free version, use a vegan butter substitute and an egg replacer such as flax egg (1 tbsp ground flax + 3 tbsp water, chilled), though texture may be slightly denser. If you only have Dutch-process cocoa, balance with a pinch more baking soda and a small amount of lemon zest to lift flavors. For a seedless jam effect, briefly pulse preserves in a blender to smooth before portioning.
Serving Suggestions
These work beautifully on a dessert platter paired with shortbread or vanilla biscotti. Serve warm with strong coffee or a glass of milk to balance the tartness. For holiday presentation, dust extra powdered sugar over the platter and garnish with a few fresh raspberries and mint leaves. For an adult pairing, a small pour of chilled raspberry liqueur or a robust port complements the chocolate without overpowering it.
Cultural Background
Crinkled or crinkle-style cookies have roots in American and European baking traditions where a powdered sugar coating is used to highlight surface fissures and provide a contrast in texture. The classic chocolate crinkle emerged in early 20th-century cookbooks, often appearing at holiday tables for its dramatic look. Adding fruit preserves updates the format with modern flavor balance — the concept of a jam-filled cookie nods to linzer and thumbprint traditions found throughout Europe, where a fruity center offsets rich pastry.
Seasonal Adaptations
For winter holidays, use dark cocoa and add a pinch of cinnamon or orange zest to complement the raspberry. Springtime gatherings benefit from lighter toppings: swap powdered sugar for a thin glaze and scatter pistachio crumbs. For Valentine’s Day, use heart-shaped cookie molds after chilling, or brush the jam with a tiny shimmer of edible gold for a celebratory touch.
Meal Prep Tips
Portion and freeze unbaked dough balls on a tray, then transfer to a labeled bag; bake straight from frozen adding 1–2 minutes to the bake time. This is ideal for planning: make dough on Sunday and bake a few dozen as needed through the season. If you’re gifting, assemble and bake close to the event, then stack with parchment in sturdy boxes to protect the crackled top.
These cookies are a reliable crowd-pleaser: simple to make, spectacular to serve, and endlessly adaptable. I encourage you to tweak the filling and try different toppings — once you master the crackle, you’ll find yourself inventing new variations to share.
Pro Tips
Chill the dough briefly to prevent the jam from running and to create a more pronounced crackle.
Spoon and level flour instead of scooping with the measuring cup to avoid dense cookies.
Use freeze-dried raspberries for coating to add intense flavor without adding moisture.
If cookies look underbaked in the center, allow them to cool on the sheet; they will set as they cool.
To bake from frozen dough, add 1–2 minutes to the baking time and monitor for set edges.
This nourishing chocolate raspberry crinkles recipe is sure to be a staple in your kitchen. Enjoy every moist, high protein slice — it is perfect for breakfast or as a wholesome snack any time.
Tags
Chocolate Raspberry Crinkles
This Chocolate Raspberry Crinkles recipe makes perfectly juicy, tender, and flavorful steak every time! Serve with potatoes and a side salad for an unforgettable dinner in under 30 minutes.
Ingredients
Cookies
Topping
Instructions
Prep and preheat
Preheat oven to 350°F (175°C). Line baking sheets with parchment or silicone mats and prepare cooling rack. Measure ingredients precisely for consistent results.
Cream fats and sugars
Beat softened butter, oil, granulated sugar, and brown sugar on medium until combined and slightly fluffy, about 1–2 minutes. Avoid over-creaming to keep a tender crumb.
Add egg and flavoring
Add the room-temperature egg and vanilla or raspberry liqueur and mix until just incorporated, scraping the bowl to ensure even texture.
Combine dry ingredients
Whisk together flour, cocoa powder, baking soda, and salt to eliminate lumps and distribute the rising agent evenly before folding into the wet mixture.
Fold dough gently
Fold dry ingredients into the wet mixture until no streaks of flour remain; stop mixing when just combined to avoid toughness.
Portion and fill with preserves
Portion dough into 1 Tbsp balls. Create a shallow well, add about 1/2 tsp raspberry preserves, and cover lightly with dough so the jam is nestled inside.
Chill briefly
Chill filled dough balls on the tray for 10–20 minutes to firm them up so the jam doesn't run during baking.
Coat and bake
Roll chilled balls in confectioners' sugar and crushed freeze-dried raspberries. Place 2 inches apart on sheets and bake 10–12 minutes until edges are set and crackles appear.
Cool and store
Cool on the baking sheet for 5 minutes, then transfer to a rack. Store in an airtight container layered with parchment at room temperature up to 4 days or freeze for longer storage.
Last Step: Please leave a rating and comment letting us know how you liked this recipe! This helps our business to thrive and continue providing free, high-quality recipes for you.
Nutrition
Did You Make This?
Leave a comment & rating below or tag
@festive-cooks on social media!
Categories:
You might also like...

Air Fryer Bang Bang Cauliflower
Crispy air fryer cauliflower tossed in a creamy sweet-spicy bang bang sauce for a crowd-pleasing, quick appetizer or weeknight treat.

Air Fryer Buffalo Cauliflower
Crispy battered cauliflower florets tossed in a tangy buffalo sauce, ready in the air fryer for a spicy, crowd pleasing snack or light meal.

Air Fryer Honey Butter Garlic Chicken
Crispy, juicy chicken tossed in a glossy honey-butter-garlic glaze — ready in minutes with an air fryer for an easy weeknight favorite.
Did You Make This?
Leave a comment & rating below or tag @festive-cooks on social media!
Rate This Recipe
Share This Recipe
Enjoyed this recipe? Share it with friends and family, and don't forget to leave a review!
Comments (1)
This recipe looks amazing! Can't wait to try it.
Comments are stored locally in your browser. Server comments are displayed alongside your local comments.

Hi, I'm Jessica!
What's Popular

30-Minute Meals!
Join to receive our email series which contains a round-up of some of our quick and easy family favorite recipes.