
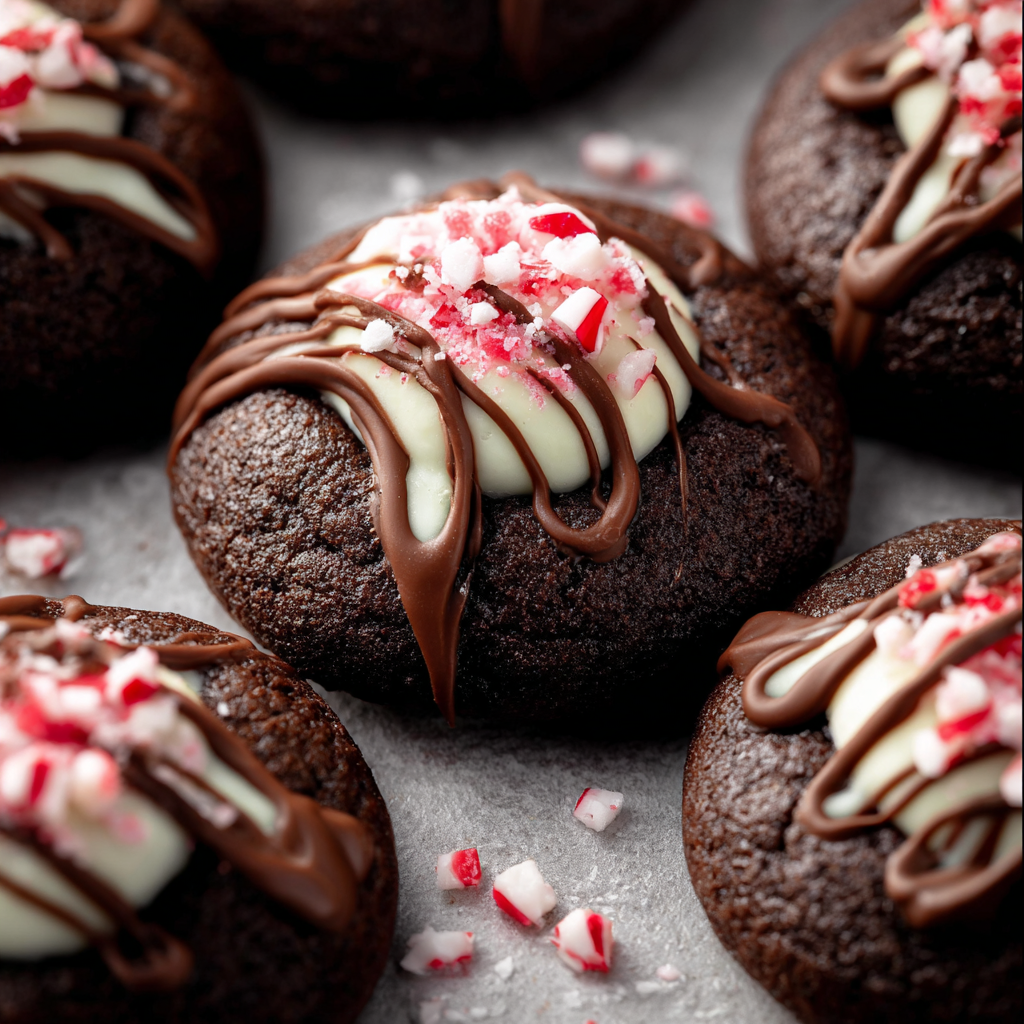
Chocolate Peppermint Blossoms

Soft, cocoa-rich cookies rolled in sugar and crowned with frozen Candy Cane Hershey Kisses — a festive, crowd-pleasing holiday treat.

This batch of Chocolate Peppermint Blossoms became my holiday calling card the first winter I tried them. I was chasing a cookie that felt both nostalgic and new: the tender, cakey texture of a chocolate drop paired with that crisp peppermint hit you only get from candy cane chocolate. I first discovered the concept while leafing through an old family magazine during a snowstorm; I adapted the technique, dialing back sugar, sharpening the cocoa, and swapping full eggs for yolks to keep the centers soft and tender. The result has filled our kitchen with cocoa and mint aromas that send everyone to the table with hot cocoa in hand.
What makes these especially memorable is the moment the frozen Hershey Kiss meets the warm cookie — the chocolate softens just enough to bloom around the mint center without losing its snap. They are surprisingly simple to make, forgiving in technique, and perfect for cookie exchanges because they travel well and look festive on a platter. Over the years I’ve learned a few small adjustments — chilling the dough briefly, rolling in extra sugar for contrast, and popping the kisses in frozen so they keep their shape — that guarantee dependable results every holiday season.
Why You'll Love This Recipe
- Five-ingredient dough base with pantry staples produces reliably soft, cakey cookies in under 30 minutes of active time; perfect for last-minute baking.
- Combines deep Dutch-process cocoa for an intense chocolate note with peppermint candy centers for a seasonal flavor contrast that’s both classic and modern.
- Uses two egg yolks instead of whole eggs to keep the crumb tender and slightly denser so the cookies hold the Hershey Kiss without flattening.
- Make-ahead friendly: dough can be chilled overnight or frozen in portions, then baked when guests arrive; baked cookies freeze well for up to 3 months.
- Visually striking: the sugared exterior provides a frosted look while the candy top adds color and festive appeal — great for cookie swaps or gift tins.
My family’s reactions have been consistent: first a hush as they take a bite, then a chorus of approval. I remember delivering a tin to neighbors one blizzard afternoon and returning to find nearly every cookie gone within hours — a sure sign these belong in your holiday rotation.
Ingredients
- All-purpose flour (1 1/2 cups): Spoon and level the flour into your measuring cup for consistent results; this creates structure without weighing the cookies down. King Arthur or another reliable brand works well.
- Dutch-process cocoa (1/2 cup): Dutch-process yields a smoother, darker chocolate flavor and helps the cookie develop a rich color. If you only have natural cocoa, expect a slightly brighter, tangier chocolate note.
- Baking powder & baking soda (1/2 tsp each): The pairing provides lift and a tender crumb; measure carefully to avoid metallic aftertaste.
- Salt (1/2 tsp): Balances sweetness and enhances the cocoa; use fine sea salt for even distribution.
- Unsalted butter (3/4 cup, softened): Room temperature butter creams best with the sugars. If your butter is too soft, chill it briefly; too hard and it won’t cream properly.
- Light brown sugar (3/4 cup, packed) & granulated sugar (1/4 cup + 1/4 cup for rolling): Brown sugar adds moisture and caramel notes; the extra granulated sugar for rolling creates a sparkly, slightly crisp exterior.
- Egg yolks (2): At room temperature, they enrich the dough and contribute to a tender, slightly fudgy center. Save the whites for an omelet or meringue.
- Vanilla extract (1 tsp): Rounds out the chocolate — use pure vanilla for best flavor.
- Candy Cane Hershey Kisses (34), frozen: Freezing the kisses before topping the warm cookies helps them retain a slightly molded shape while softening just enough to stick.
Instructions
Prepare dry ingredients: In a medium bowl, whisk together 1 1/2 cups all-purpose flour, 1/2 cup Dutch-process cocoa, 1/2 teaspoon baking powder, 1/2 teaspoon baking soda, and 1/2 teaspoon salt until evenly combined. Sifting is optional but helps remove lumps from the cocoa and ensures uniform distribution of the leaveners. Cream butter and sugars: In a stand mixer fitted with the paddle attachment or using a handheld mixer, beat 3/4 cup softened unsalted butter with 3/4 cup packed light brown sugar and 1/4 cup granulated sugar on medium speed until light and fluffy, about 2 to 3 minutes. Scrape the bowl once to ensure even creaming. The mixture should look paler and slightly aerated. Add yolks and vanilla: Beat in the 2 room-temperature egg yolks, one at a time, then stir in 1 teaspoon vanilla. Mixing at low speed just until incorporated preserves the creaminess without overworking the dough. Combine wet and dry: With the mixer on low, add the dry ingredients in two additions, mixing just until combined. Overmixing develops gluten and yields tougher cookies; stop when you no longer see streaks of flour. The dough will be soft but scoopable. Chill the dough: For best shape and texture, chill the dough for 20 to 30 minutes. Chilling firms the butter and prevents excessive spread during baking, producing a plumper cookie that will cradle the Kiss. Portion and roll: Preheat the oven to 350°F (175°C). Scoop tablespoon-sized portions of dough and roll them into smooth balls. Roll each ball in the remaining 1/4 cup granulated sugar to coat, then place on a parchment-lined baking sheet about 2 inches apart. Bake and top: Bake for 9 to 11 minutes, until the cookies have set at the edges but still appear slightly soft in the center. Immediately press a frozen Candy Cane Hershey Kiss into the center of each cookie; the heat will soften the chocolate just enough to adhere without melting it flat. Let the cookies cool on the sheet for 5 minutes, then transfer to a wire rack to cool completely.
You Must Know
- These keep well at room temperature in an airtight container for up to 4 days; for longer storage, freeze baked cookies up to 3 months.
- Using Dutch-process cocoa deepens color and smooths flavor; natural cocoa will change the profile and may affect rise slightly.
- Freezing the kisses before pressing helps them hold their striped look while softening just enough to meld with the cookie surface.
- Cookies are best eaten within a week for flavor and texture; refrigeration is unnecessary and can dry them out.
What I relish most is watching guests reach for a cookie, intrigued by the peppermint shimmer, and then closing their eyes at the first bite. These are small, joyful treats that evoke holiday rituals — baking with family, wrapping tins for neighbors, and the tiny showmanship of placing each kiss just so.
Storage Tips
For short-term storage, cool cookies completely and layer them in an airtight container separated by sheets of parchment to prevent sticking; they keep well at room temperature for up to four days. For longer storage, flash-freeze the baked cookies on a tray until firm, then transfer to a freezer-safe container or resealable bag and freeze for up to three months. To thaw, move a few hours to the refrigerator or an hour at room temperature; avoid microwaving directly as it will soften the candy center unevenly. If you plan to freeze dough balls instead of finished cookies, portion them on a tray, freeze until solid, then store in labeled bags; bake from frozen, adding 1–2 minutes to the bake time.
Ingredient Substitutions
If you need to substitute, choose wisely: swap Dutch-process cocoa for natural cocoa in a pinch, but omit baking soda or increase baking powder slightly to compensate for acidity differences. For a dairy-free version, replace butter with a 1:1 dairy-free stick, though the texture will be a touch less rich; check the kisses — many contain milk and may need a dairy-free chocolate alternative shaped similarly. Light brown sugar contributes moisture; if unavailable, make a substitute by mixing 1 cup granulated sugar with 1 tablespoon molasses per cup, then measure accordingly. For a gluten-free option, use a high-quality 1:1 gluten-free flour blend and chill the dough a bit longer to help it hold shape.
Serving Suggestions
These are at home on holiday dessert platters alongside shortbread, ginger snaps, and spiced nuts. Serve with hot chocolate, mulled cider, or a cold glass of milk for contrast. For gifting, layer them in a tin with parchment and accents of holly or ribbon; include a label noting that the kisses were frozen before topping to preserve their shape. For a party, display them on a tiered tray with peppermint sticks and small bowls of red and green candies for color coordination.
Cultural Background
Chocolate and mint pairings have long been a holiday favorite in North American candy traditions, with peppermint becoming synonymous with winter celebrations. The idea of pressing a wrapped chocolate into a cookie traces to classic drop cookies adapted during the mid-20th century when mass-produced wrapped chocolates became widely available. Over time, bakers experimented with flavors and textures, leading to variations that highlight regional ingredients and modern cocoa styles such as Dutch-process. These blossoms are part of that lineage — playful, modern spins on cookie classics that celebrate convenience and presentation.
Seasonal Adaptations
To adapt across seasons, swap the Candy Cane Hershey Kisses for plain dark chocolate Kisses and add orange zest in fall to add brightness. For Valentine’s Day, use cherry-flavored chocolates or raspberry kisses and roll the dough in colored sanding sugar. During summertime gatherings, press a small piece of chilled ganache rather than a peppermint candy to keep the center glossy but not melted. Adjust spices — a pinch of cayenne can add warmth in winter — but keep the balance so the chocolate remains the star.
Meal Prep Tips
Batch-prep by making the dough a day ahead; shaped and sugared dough balls can sit refrigerated overnight or be frozen on a tray and then bagged for up to three months. When ready to bake, place frozen balls on a parchment-lined sheet and add an extra 1–2 minutes to the baking time. Use a small cookie scoop for uniform size, which ensures even baking and consistent presentation. Label containers with baking times and dates so you can rotate through multiple flavors during holiday hosting.
These Chocolate Peppermint Blossoms are more than a cookie; they’re a small, repeatable ritual that brings people together. Whether passed around at parties or tucked in a neighbor’s tin, they carry warmth, nostalgia, and a confident balance of chocolate and mint. I hope you find as much joy in baking and sharing them as I have.
Pro Tips
Chill the dough for 20–30 minutes to prevent excessive spreading and achieve a plump cookie.
Freeze the Hershey Kisses before topping so they retain shape when pressed into hot cookies.
Use a small cookie scoop for uniform cookies which bake evenly and look professional.
This nourishing chocolate peppermint blossoms recipe is sure to be a staple in your kitchen. Enjoy every moist, high protein slice — it is perfect for breakfast or as a wholesome snack any time.
Tags
Chocolate Peppermint Blossoms
This Chocolate Peppermint Blossoms recipe makes perfectly juicy, tender, and flavorful steak every time! Serve with potatoes and a side salad for an unforgettable dinner in under 30 minutes.
Ingredients
Dry ingredients
Wet ingredients
Topping
Instructions
Combine dry ingredients
Whisk together flour, cocoa powder, baking powder, baking soda, and salt until homogenous to ensure even distribution of leavening agents and cocoa.
Cream butter and sugars
Beat softened butter with light brown sugar and granulated sugar until pale and fluffy, about 2–3 minutes; scrape bowl to ensure even creaming.
Incorporate yolks and vanilla
Add egg yolks one at a time and then vanilla, mixing on low speed until just combined to maintain tender texture.
Fold in dry ingredients
Add dry mix in two additions on low speed and mix until no streaks remain; avoid overmixing to prevent gluten development.
Chill dough
Chill the dough for 20–30 minutes to firm up the butter and prevent spreading during baking, yielding plumper cookies.
Portion and roll in sugar
Preheat oven to 350°F. Scoop tablespoon-sized balls, roll in granulated sugar, and place 2 inches apart on parchment-lined sheets.
Bake and top
Bake 9–11 minutes until edges are set. Immediately press a frozen Candy Cane Hershey Kiss into each cookie center; cool 5 minutes on sheet then transfer to a rack.
Last Step: Please leave a rating and comment letting us know how you liked this recipe! This helps our business to thrive and continue providing free, high-quality recipes for you.
Nutrition
Did You Make This?
Leave a comment & rating below or tag
@festive-cooks on social media!
Categories:
You might also like...

Air Fryer Bang Bang Cauliflower
Crispy air fryer cauliflower tossed in a creamy sweet-spicy bang bang sauce for a crowd-pleasing, quick appetizer or weeknight treat.

Air Fryer Buffalo Cauliflower
Crispy battered cauliflower florets tossed in a tangy buffalo sauce, ready in the air fryer for a spicy, crowd pleasing snack or light meal.

Air Fryer Honey Butter Garlic Chicken
Crispy, juicy chicken tossed in a glossy honey-butter-garlic glaze — ready in minutes with an air fryer for an easy weeknight favorite.
Did You Make This?
Leave a comment & rating below or tag @festive-cooks on social media!
Rate This Recipe
Share This Recipe
Enjoyed this recipe? Share it with friends and family, and don't forget to leave a review!
Comments (1)
This recipe looks amazing! Can't wait to try it.
Comments are stored locally in your browser. Server comments are displayed alongside your local comments.

Hi, I'm Jessica!
What's Popular

30-Minute Meals!
Join to receive our email series which contains a round-up of some of our quick and easy family favorite recipes.