
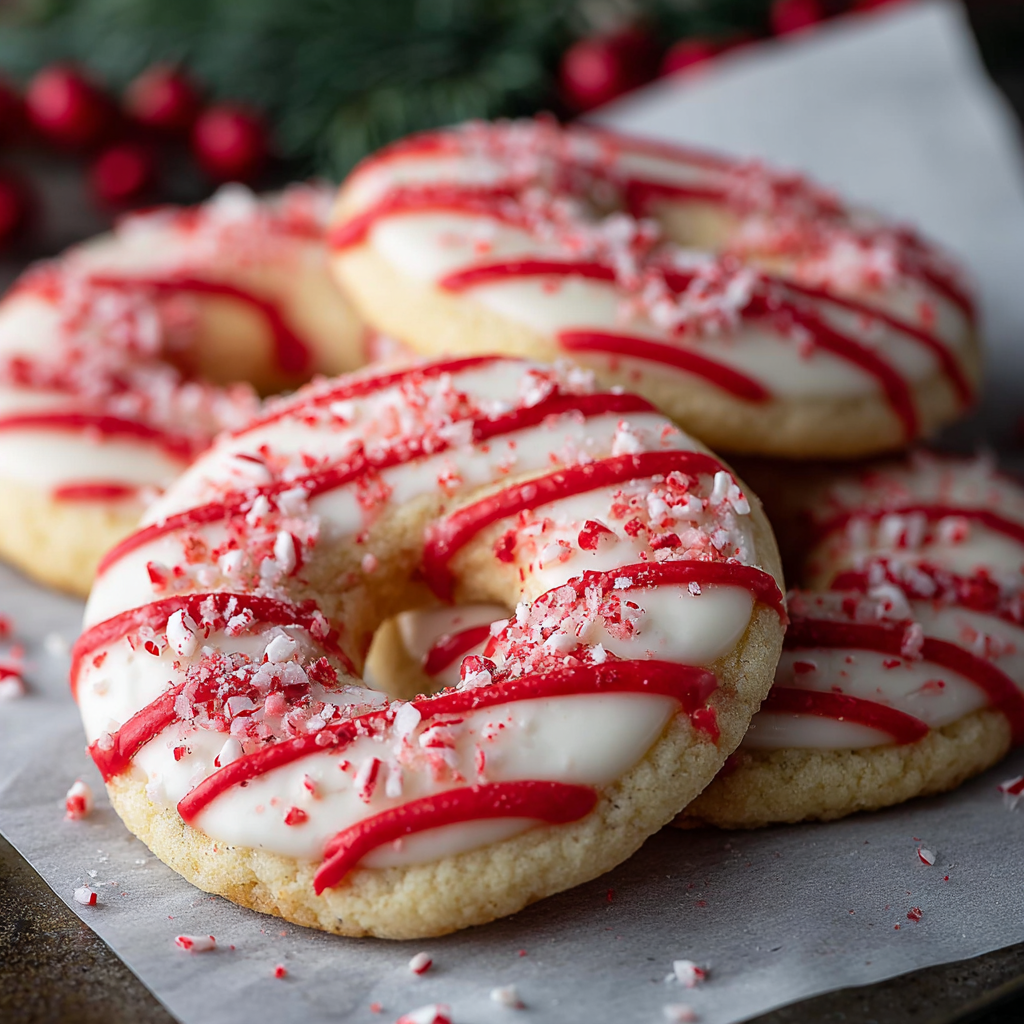
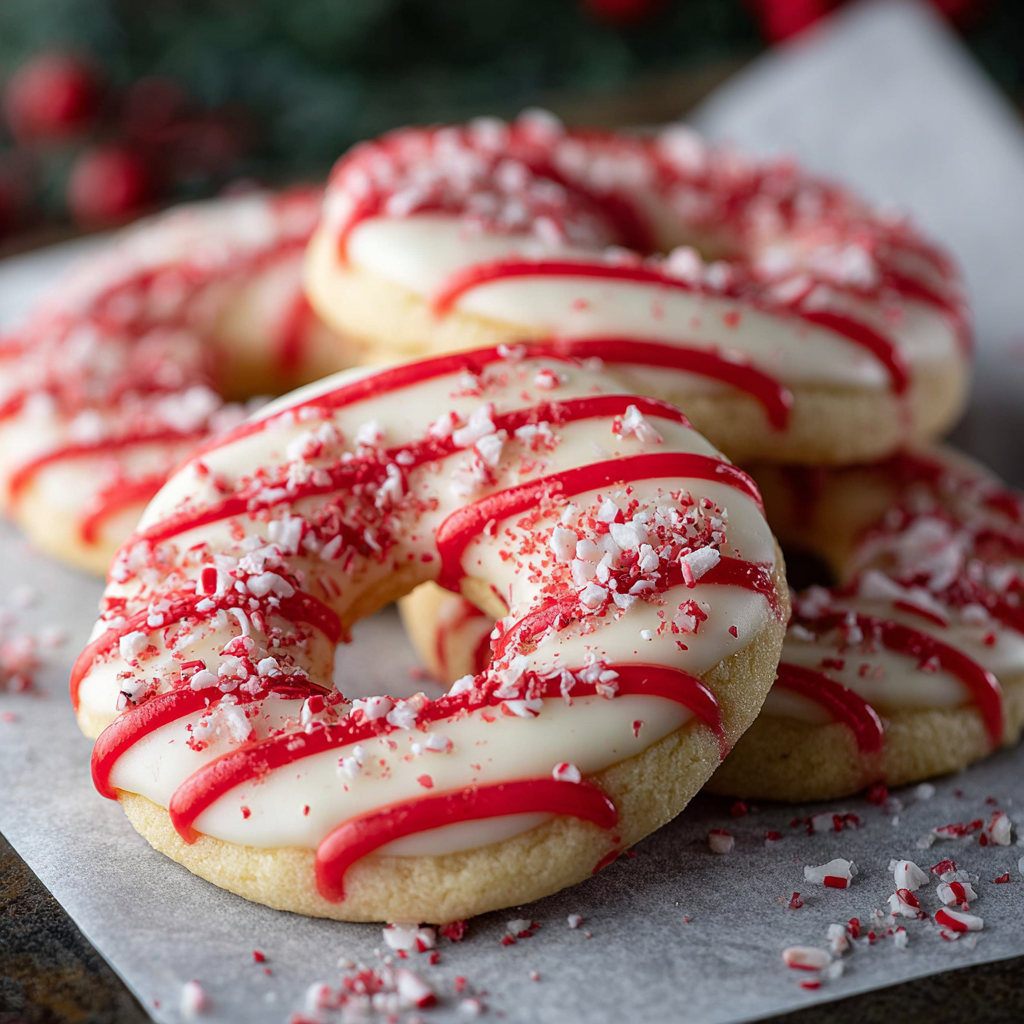
Candy Cane Cookies

Buttery, peppermint-swirled candy cane cookies — festive, simple to make, and perfect for holiday cookie exchanges or a cozy afternoon baking with family.
Why You'll Love This Recipe
- Ready in about 30 minutes from start to finish, this is a reliable choice for last-minute trays and cookie exchanges.
- Uses pantry staples — unsalted butter, powdered sugar, all-purpose flour — with only a touch of peppermint extract to deliver holiday flavor without specialty ingredients.
- Make-ahead friendly: dough can be chilled for up to 2 days or frozen for longer storage, making it perfect for batch planning.
- Candy-cane shapes are kid-friendly: rolling and twisting ropes is a fun, hands-on activity for helpers who can handle dough without too much pressure.
- Visually striking on a platter — the red swirl adds festive color without complicated decorating techniques.
- Adaptable: swap peppermint for lemon or omit color for simple vanilla pinwheels.
I remember my niece’s face the first time she saw the bright red stripe appear as we twisted the ropes — that small kitchen victory felt like a true holiday moment. Friends often comment that these are the most photogenic cookies on a dessert table, and the texture gets compliments every year.
Ingredients
- Unsalted butter (1 cup): Use a high-quality, real butter such as Plugrá or Kerrygold for the best flavor and reliable creaming behavior; it contributes richness and a tender crumb.
- Powdered sugar (1 cup): Also called confectioners’ sugar — sifted if lumpy — it gives cookies a melt-in-your-mouth texture compared to granulated sugar.
- Large egg (1): At room temperature for easier emulsification and a smoother dough; room-temp eggs incorporate better and help the cookie rise evenly.
- Vanilla extract (1 teaspoon): Pure vanilla adds depth; if using imitation, increase to 1 1/4 teaspoons to boost flavor.
- Peppermint extract (1/2 teaspoon): Use a concentrated extract sparingly — gel mint extracts are also fine — it should be a bright note, not overwhelming.
- All-purpose flour (2 1/2 cups): Spoon and level when measuring for accuracy; unbleached is preferable for better structure and flavor.
- Salt (1/2 teaspoon): Balances sweetness and enhances butter’s flavor; use fine sea salt or table salt measured precisely.
- Red food coloring (gel): A few drops of gel coloring give an intense hue without adding water; choose a concentrated gel for a vivid red stripe.
Instructions
Prep the oven and sheets: Preheat to 375°F (190°C). Line baking sheets with parchment paper to prevent sticking and promote even browning. Arrange racks in the middle of the oven so cookies bake evenly; if using multiple trays, rotate midway through the bake. Cream butter and sugar: In a mixing bowl, beat 1 cup softened unsalted butter with 1 cup powdered sugar on medium-high speed for 3–4 minutes until pale and fluffy. Proper creaming traps air and yields a lighter texture — scrape the bowl once to ensure even mixing. Add egg and extracts: Add 1 room-temperature egg, 1 teaspoon vanilla extract, and 1/2 teaspoon peppermint extract. Mix at medium speed until smooth and homogeneous, about 30–45 seconds. Overmixing after adding the egg can create excess gluten development; stop once the mixture is glossy and combined. Incorporate dry ingredients: Reduce mixer speed to low and slowly add 2 1/2 cups all-purpose flour and 1/2 teaspoon salt. Mix until the dough comes together but still feels soft — it should not be tacky. If it’s too sticky, add 1 tablespoon more flour at a time until manageable. Divide and color the dough: Divide the dough evenly into two portions. Tint one portion with red gel food coloring using a toothpick-sized amount and knead until the color is uniform. Wear gloves if you want to avoid staining fingers. Wrap both portions in plastic and chill for 10–15 minutes if too soft to handle. Shape into ropes and twist: Pinch off about 1 teaspoon of dough from each color. Roll each into a thin 4-inch rope on a lightly floured surface, then press the two ropes together at one end and twist gently to create a candy cane stripe. Curve the top into the classic hook shape, trimming ends to tidy the look. Bake until set: Arrange on prepared baking sheets with a little space between cookies. Bake 8–10 minutes until the bottoms are just turning light golden. Watch for edge color — the centers will still be soft but set. Cool cookies on the pan for 5 minutes before transferring to a wire rack to finish cooling.
You Must Know
- These keep well at room temperature in an airtight tin for up to 5 days; they will soften slightly but remain flavorful.
- Dough can be chilled up to 48 hours or frozen for 1 month — thaw overnight in the refrigerator before shaping.
- Watch baking time closely: 8–10 minutes gives a tender interior; 11–12 minutes creates a crisper cookie.
- Gel food coloring prevents additional moisture that liquid dyes can introduce, preserving dough consistency and color vibrancy.
- Use room-temperature egg and butter for smooth emulsification and consistent texture.
One of my favorite things about these cookies is how reliably they bring people together — whether for an informal coffee or a formal cookie exchange. At a recent holiday brunch, a neighbor asked for the recipe before the last cookie left the platter. That moment reminded me that simple techniques paired with thoughtful flavor balance make for the most memorable treats.
Storage Tips
Store cooled cookies in a single layer or separated by parchment in an airtight container at room temperature for up to 5 days. For longer storage, freeze in a sealed freezer-safe container for up to 3 months; thaw at room temperature for about 30 minutes before serving. If you plan to stack cookies, use parchment between layers to protect the shape and decoration. Avoid refrigeration — it can dry out the cookies and mute the peppermint aroma. For reheating, a 6–8 minute stint in a 300°F oven refreshes crisp edges while keeping centers tender.
Ingredient Substitutions
If you need to adapt, swap unsalted butter for salted butter and omit the added salt, tasting the dough if needed. For a dairy-free version, use a vegan stick butter with similar fat content, but expect a slightly different mouthfeel. To make smaller batches, halve the recipe easily. If peppermint extract is unavailable, substitute 1/2 teaspoon pure peppermint oil diluted with a few drops of neutral oil — use sparingly. For natural coloring, a small amount of beet powder mixed into a little neutral oil can create a gentle pink hue, though gel will always give the brightest red.
Serving Suggestions
Serve these on a holiday platter with assorted cookies, chocolate-dipped shortbreads, and ginger snaps for variety. They pair beautifully with hot chocolate or a peppermint mocha and make a festive garnish when tucked into gift bags. For a plated dessert, arrange three cookies with a scoop of vanilla ice cream and a drizzle of warm chocolate sauce. Garnish with crushed candy canes for extra crunch and contrast. They are also perfect for cookie decorating parties — leave some plain and provide piping bags of royal icing for guests to personalize.
Cultural Background
The candy cane has roots in 17th-century Europe, originally a plain sugar stick shaped like a shepherd’s crook. The red stripe and peppermint flavor likely evolved in the 19th century as confectioners experimented with visual appeal and flavorings. Translating that motif into a cookie merges classic American holiday baking — buttery cookie dough and simple shaping — with the iconic seasonal symbol. Versions appear across North America at Christmas markets and family gatherings, each baker adding regional twists like spice blends or citrus oils.
Seasonal Adaptations
Adapt the concept for other holidays by switching colors and flavor extracts: use green food coloring and a few drops of lime extract for St. Patrick’s Day, or swap peppermint for almond and tint light pink for Valentine’s Day. In winter, fold 1/4 teaspoon ground ginger into the dough for a ginger-kissed variation. For a summer version, reduce peppermint and add lemon zest with yellow coloring to make sunny pinwheels. Small adjustments in extract and color transform the cookie's mood without changing technique.
Meal Prep Tips
Prepare dough in bulk on a weekend and portion into labeled bags — one red, one plain — then freeze flat. When ready to bake, thaw in the refrigerator overnight and shape as needed. Rolling ropes and shaping cookies can be done assembly-line style: one person rolls ropes, another twists, and a third arranges on sheets. This speeds production for large gatherings or fundraisers. Use silicone mats on baking sheets to prevent sticking when baking many trays, and cool completely before packaging to avoid condensation inside containers.
These candy cane cookies are a small but joyful way to bring color and flavor to the season. The method is forgiving, the flavors are festive without being fussy, and the finished cookies carry with them the kind of homey nostalgia that makes holiday baking worth the effort. Try a batch this season and make the shaping a new family tradition — you might be surprised how quickly the platter empties.
Pro Tips
Use room-temperature butter and egg for a smooth, evenly textured dough.
Slightly underbake (8–10 minutes) for a tender center and crisp edge.
Chill dough briefly if it becomes too soft to shape — 10–15 minutes in the refrigerator helps.
Use gel food coloring to avoid adding extra moisture to the dough.
This nourishing candy cane cookies recipe is sure to be a staple in your kitchen. Enjoy every moist, high protein slice — it is perfect for breakfast or as a wholesome snack any time.
Tags
Candy Cane Cookies
This Candy Cane Cookies recipe makes perfectly juicy, tender, and flavorful steak every time! Serve with potatoes and a side salad for an unforgettable dinner in under 30 minutes.
Ingredients
Dough
Instructions
Preheat and prepare sheets
Preheat oven to 375°F (190°C). Line baking sheets with parchment paper and position oven racks in the center for even baking.
Cream butter and sugar
Beat 1 cup softened unsalted butter with 1 cup powdered sugar for 3–4 minutes until pale and fluffy, scraping down the bowl once.
Add egg and extracts
Add 1 room-temperature egg, 1 teaspoon vanilla extract, and 1/2 teaspoon peppermint extract. Mix until smooth and combined, about 30–45 seconds.
Mix in dry ingredients
With mixer on low, slowly add 2 1/2 cups all-purpose flour and 1/2 teaspoon salt until the dough comes together and is soft but not sticky.
Divide and color dough
Split dough in half. Tint one half with red gel food coloring and knead until evenly colored. Chill for 10–15 minutes if too soft to handle.
Shape ropes and twist
Roll 1 teaspoon portions of each color into 4-inch ropes. Press ends together and gently twist to form a striped rope, then bend the top into a candy cane hook.
Bake and cool
Place cookies on prepared sheets and bake 8–10 minutes until the bottoms are lightly golden. Cool on the pan for 5 minutes, then transfer to a wire rack.
Last Step: Please leave a rating and comment letting us know how you liked this recipe! This helps our business to thrive and continue providing free, high-quality recipes for you.
Nutrition
Did You Make This?
Leave a comment & rating below or tag
@festive-cooks on social media!
Categories:
You might also like...

Air Fryer Bang Bang Cauliflower
Crispy air fryer cauliflower tossed in a creamy sweet-spicy bang bang sauce for a crowd-pleasing, quick appetizer or weeknight treat.

Air Fryer Buffalo Cauliflower
Crispy battered cauliflower florets tossed in a tangy buffalo sauce, ready in the air fryer for a spicy, crowd pleasing snack or light meal.

Air Fryer Honey Butter Garlic Chicken
Crispy, juicy chicken tossed in a glossy honey-butter-garlic glaze — ready in minutes with an air fryer for an easy weeknight favorite.
Did You Make This?
Leave a comment & rating below or tag @festive-cooks on social media!
Rate This Recipe
Share This Recipe
Enjoyed this recipe? Share it with friends and family, and don't forget to leave a review!
Comments (1)
This recipe looks amazing! Can't wait to try it.
Comments are stored locally in your browser. Server comments are displayed alongside your local comments.

Hi, I'm Jessica!
What's Popular

30-Minute Meals!
Join to receive our email series which contains a round-up of some of our quick and easy family favorite recipes.