
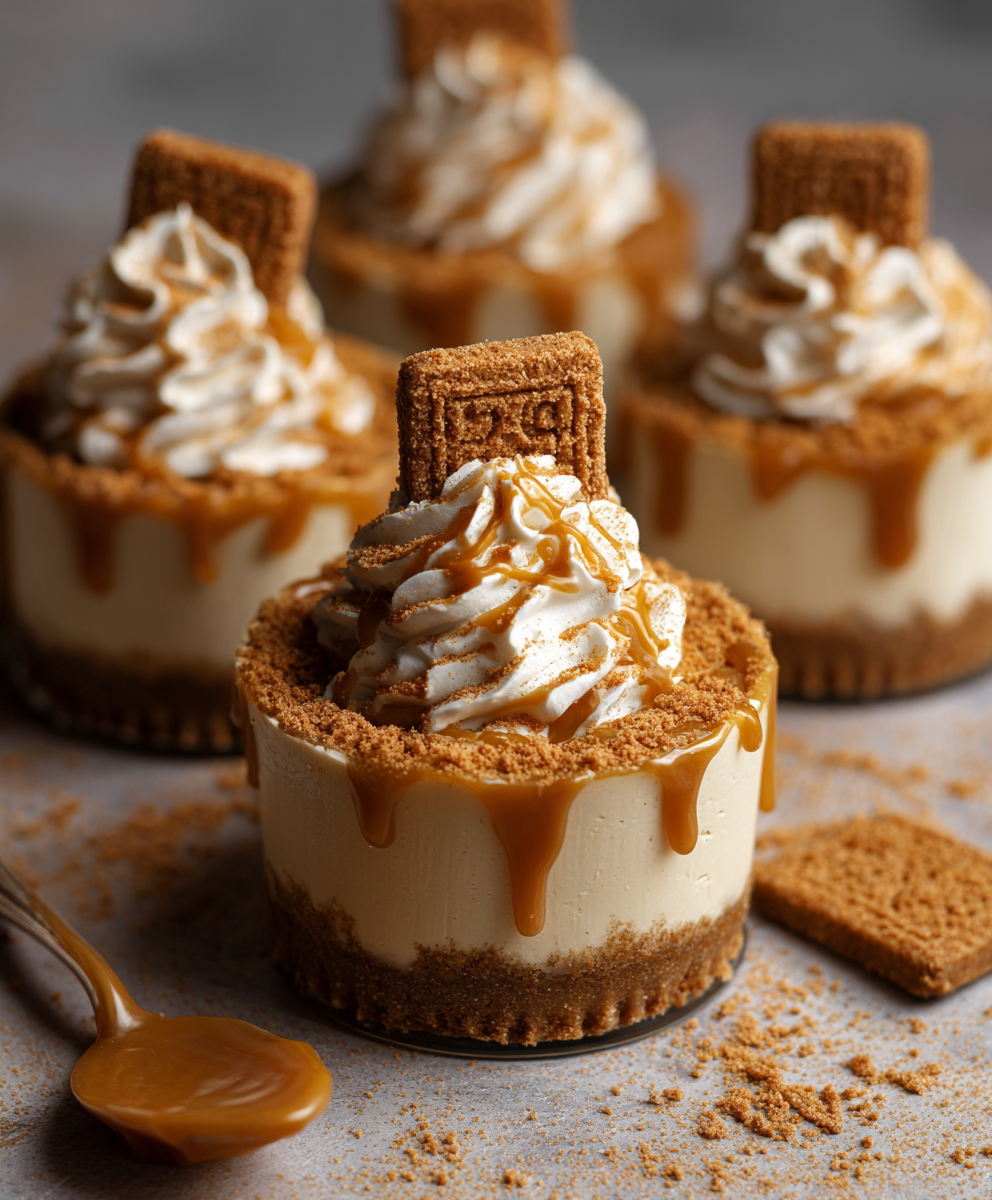
Biscoff Cheesecake Cups

Creamy no-bake cheesecake cups layered with crunchy Biscoff cookie crust and a silky Lotus Biscoff filling — ready in under 30 minutes and perfect for parties.
This dessert has been one of those spontaneous winners that arrived from a simple craving and a well-stocked pantry. I first made these Biscoff cheesecake cups on a rainy afternoon when I wanted something rich but fuss-free for a small get-together. The first bite — smooth, lightly spiced Biscoff filling against a crunchy, buttery cookie base — became an instant crowd-pleaser. Since then these little cups have appeared at potlucks, birthdays, and an impromptu weekend brunch; friends always ask for the recipe and for extra cups to take home.
What makes these treats special is the contrast of textures and the pure, caramelized flavor of Biscoff. The filling is an airy, whipped cheesecake that holds its shape without baking, while the crust provides a toasted, caramel-backed crunch. They’re small, elegant, and require only a few ingredients you likely already have on hand. I’ll walk you through every step, from pressing the perfect base to folding your whipped cream to create a light, stable filling. These cups are forgiving, fast, and flat-out delicious.
Why You'll Love This Recipe
- Ready in about 25 minutes of active time and sets in the refrigerator in 2–4 hours, so it’s perfect for last-minute entertaining or a weeknight dessert.
- Uses pantry-friendly ingredients: Biscoff cookies and spread transform basic dairy staples into something gourmet without fancy shopping.
- No oven required — great for hot days, small kitchens, or cooks who prefer no-bake treats that still feel indulgent.
- Make-ahead friendly: assemble jars the day before, and they’ll only improve in flavor as they rest in the fridge.
- Portion-controlled cups are crowd-pleasing and adaptable for dietary tweaks like lower sugar or alternative toppings.
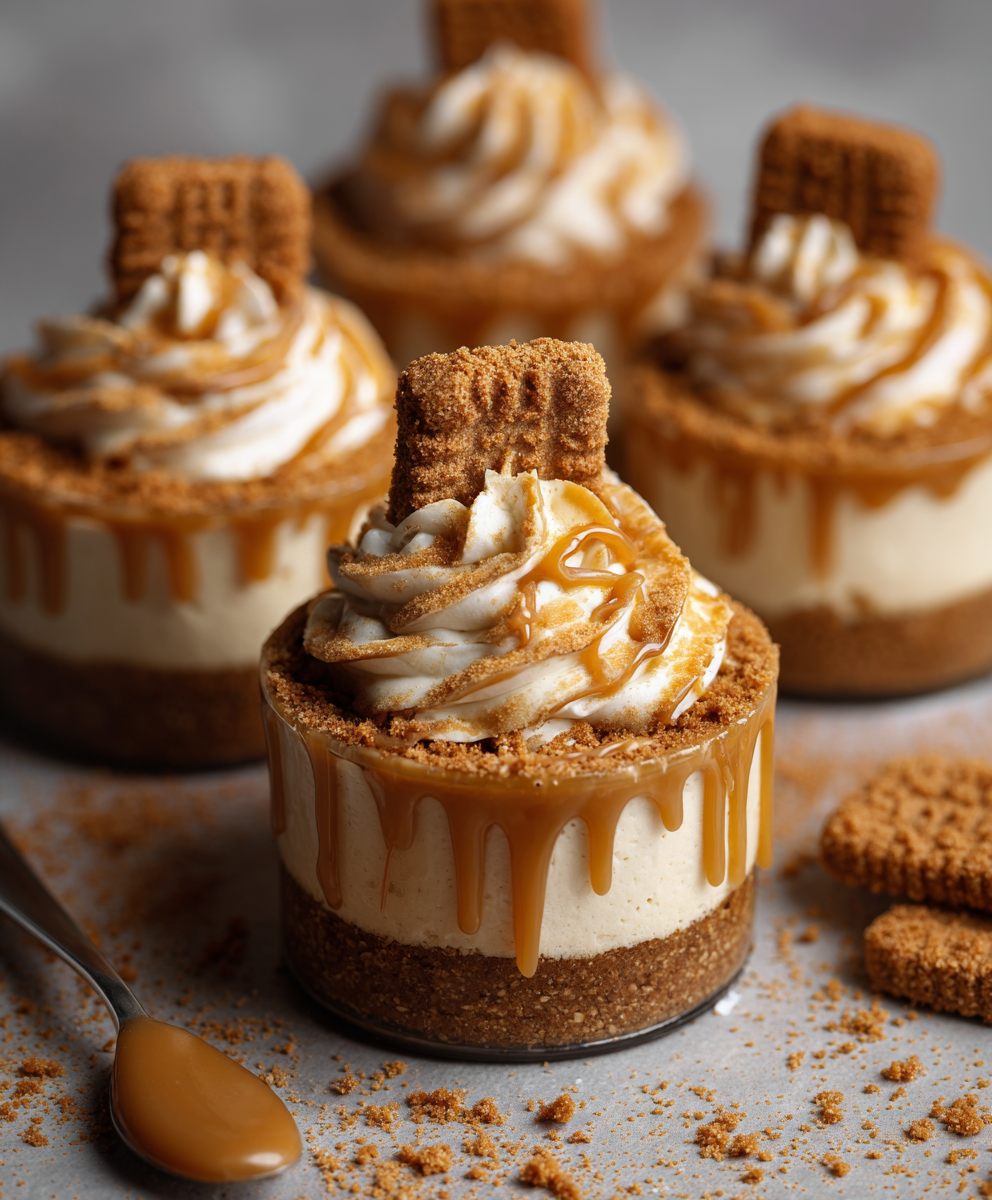
- Visually appealing with a glossy Biscoff drizzle and optional crushed cookie sprinkle that adds satisfying crunch.
I remember bringing a tray of these to a friend’s baby shower — they disappeared within minutes. The Biscoff flavor is nostalgic for many guests, and the texture keeps people coming back for one more spoonful. It’s a small recipe that generates big compliments.
Ingredients
- Biscoff cookie crumbs (crust): Use finely crushed Lotus Biscoff cookies for the characteristic caramel-spiced base. One cup (about 100 g crushed) presses easily into small jars and provides the right texture; save a few whole crumbs for garnish.
- Melted butter: Three tablespoons (about 42 g) binds the crumbs and adds richness — unsalted European-style butter will give the best flavor, but any butter will work.
- Cream cheese: Eight ounces (225 g) at room temperature yields a smooth filling. Full-fat cream cheese produces the creamiest result; soften it on the counter for 30–60 minutes for perfect blending.
- Heavy whipping cream: One cup (240 ml) chilled, whipped to stiff peaks — this is what gives the filling lightness and lift. Using well-chilled cream and a chilled bowl ensures stable peaks.
- Powdered sugar: One-third cup (about 40 g) adds gentle sweetness and helps stabilize the whipped cream without grittiness.
- Biscoff spread: One-third cup (about 110 g), warmed 10 seconds in the microwave to loosen. This is the flavor backbone: rich, caramelized, and spiced. If you prefer a stronger cookie flavor, add a tablespoon more.
- Vanilla extract: One teaspoon for aromatics — a pure vanilla extract gives depth without masking the Biscoff notes.
- Topping: One-quarter cup melted Biscoff spread for drizzling and reserved crushed cookies for optional crunch.
Instructions
Make the crust: Combine one cup of finely crushed Biscoff crumbs with three tablespoons melted butter in a small bowl, stirring until evenly moistened. Spoon one to two tablespoons into each serving cup or jar and press lightly with the back of a spoon or a small measuring cup to form a compact base. The crust should hold together when you press firmly but not be rock hard. Chill the cups in the refrigerator while you prepare the filling so the butter solidifies and the base firms up — about 10–15 minutes. Prepare the filling: Beat the softened cream cheese in a medium bowl using a hand mixer or stand mixer fitted with the paddle attachment until smooth and free of lumps, about 1–2 minutes on medium speed. Add the powdered sugar, vanilla extract, and the warmed Biscoff spread. Mix on low until incorporated, then increase speed briefly to ensure a silky texture. In a separate chilled bowl, whip the heavy cream with clean beaters to stiff peaks — start at medium speed and increase to high as the cream thickens. Fold the whipped cream gently into the cream cheese mixture in two additions, using a wide spatula and a light hand to keep as much air as possible; stop when streaks disappear and the mixture is uniform and fluffy. Assemble the cups: Transfer the cheesecake filling to a piping bag fitted with a large round or star tip, or use a spoon. Pipe or spoon an even layer of filling over each chilled crust, filling cups to just below the rim. Smooth tops with a small offset spatula if needed. Warm one-quarter cup of Biscoff spread for 10–15 seconds until pourable, then drizzle over the tops; sprinkle with crushed Biscoff cookies for texture if desired. Chill and serve: Refrigerate the assembled cups for at least 2 hours to allow the filling to set and flavors to meld; 3–4 hours yields a firmer texture. Serve cold straight from the fridge. Cups keep well chilled for 2–3 days; add crunchy toppings just before serving to retain texture.
You Must Know
- These cups are high in flavor and should be stored refrigerated; they keep for up to 3 days in an airtight container or covered tightly to prevent absorption of fridge odors.
- They freeze reasonably well: freeze for up to 3 months, thaw overnight in the refrigerator before serving, and add fresh crushed cookies on top after thawing to restore crunch.
- Because they contain cream cheese and heavy cream, they are richer than standard desserts — serving size control in small cups helps manage portions.
- Lotus Biscoff cookies contain wheat and may contain traces of soy — these cups are not gluten-free or dairy-free as written.
My favorite part is that the Biscoff spread brightens the cream cheese without overpowering it; the filling is feather-light yet unmistakably Biscoff. At potlucks I often hide an extra jar in my bag because they go fast — people love the nostalgic cookie flavor paired with a refined presentation.
Storage Tips
Store the cups in the refrigerator in an airtight container or covered tightly with plastic wrap. If storing multiple cups, arrange them in a single layer or use small lids to prevent tops from absorbing fridge aromas. For longer storage, freeze cups without the crushed cookie topping for up to three months; wrap each cup in plastic wrap and place in a freezer-safe container. Thaw overnight in the refrigerator and add fresh crushed cookies or drizzle before serving to refresh the texture. Avoid leaving them at room temperature for more than two hours due to dairy content.
Ingredient Substitutions
If you don’t have Biscoff spread, try speculoos cookie butter from another brand or a smooth cookie butter variety; reduce added powdered sugar if your spread is already quite sweet. For a lighter filling use half Greek yogurt and half cream cheese, though the texture will be tangier and less dense. To make these gluten-free, replace the Biscoff crumbs with a gluten-free spiced cookie crumb and check labels on spreads. For a lower-sugar version, use a powdered sugar substitute measured for baking and a reduced amount of cookie butter.
Serving Suggestions
Serve these cups chilled with a small dessert spoon. Garnish with a whole Biscoff cookie, a sprinkle of finely crushed crumbs, or a few toasted sliced almonds for contrast. They pair beautifully with black coffee or an espresso-based drink; for celebrations, serve with a glass of semi-sweet sparkling wine. These cups are ideal for individual dessert stations at gatherings or as a portable sweet for picnics (keep them chilled until serving).
Seasonal Adaptations
In cooler months, add a pinch of ground cinnamon and a fraction of ground ginger to the crust for a warming spice profile. For summer, top with quick-pickled strawberries or a bright berry compote to cut through the richness. At holiday time, garnish with candied orange peel or a dusting of cocoa powder for a festive look. The base and filling are flexible — small changes in toppings evoke different seasonal moods.
Meal Prep Tips
Make the crust and filling up to two days ahead and store them separately; assemble cups the day you plan to serve for best texture. Alternatively, fully assemble jars and refrigerate for optimal convenience; just add crunchy toppings at the last minute. Use uniform jars or cups so chilling time is consistent across all portions. A piping bag makes assembly fast and leaves neat tops, perfect when preparing dozens for events.
Success Stories
I once made these for a last-minute dinner when the power went out at my neighbor’s home and we ended up sharing candles and small jars of the cheesecake. The dessert felt cozy and festive by candlelight, and everyone asked for a second jar to take away. Over time I’ve adapted the sweetness level based on feedback — less powdered sugar and an extra pinch of salt in the crust improved balance — and now it’s a recipe I almost never change.
These little cups are proof that great desserts don’t need fuss. Try them once and you’ll understand why I keep making them for company and quiet evenings alike. They’re easy to personalize, quick to assemble, and always warmly received.
Pro Tips
Soften cream cheese completely at room temperature to avoid lumps — if short on time, microwave in 5-second bursts until slightly softened.
Chill the mixing bowl and whisk when whipping cream for faster, more stable peaks.
Warm the Biscoff spread briefly to make it pourable for drizzling, but do not overheat or it will thin too much.
This nourishing biscoff cheesecake cups recipe is sure to be a staple in your kitchen. Enjoy every moist, high protein slice — it is perfect for breakfast or as a wholesome snack any time.
FAQs about Recipes
Can I make these ahead of time?
Yes. Prepare the cups up to 3 days in advance and keep refrigerated. Add any crunchy toppings right before serving.
Can I freeze these?
Freeze without crushed cookie toppings for up to 3 months. Thaw in the refrigerator overnight and garnish before serving.
Can I use low-fat cream cheese?
Use a full-fat cream cheese for the creamiest filling; low-fat versions can be used but expect a thinner texture.
Tags
Biscoff Cheesecake Cups
This Biscoff Cheesecake Cups recipe makes perfectly juicy, tender, and flavorful steak every time! Serve with potatoes and a side salad for an unforgettable dinner in under 30 minutes.
Ingredients
Crust
Filling
Topping
Instructions
Make the crust
Mix Biscoff crumbs with melted butter, spoon 1–2 tablespoons into each cup, press lightly to form a compact base, and chill while preparing filling.
Make the cheesecake filling
Beat softened cream cheese until smooth, add powdered sugar, vanilla, and softened Biscoff spread. Whip heavy cream to stiff peaks separately and gently fold into the cream cheese mixture until fluffy and uniform.
Assemble the cups
Pipe or spoon the filling over each chilled crust, drizzle warmed Biscoff spread on top, and add crushed cookies if desired.
Chill & Serve
Refrigerate for 2–4 hours until set. Serve cold and store refrigerated for up to 3 days. Add crunchy toppings just before serving.
Last Step: Please leave a rating and comment letting us know how you liked this recipe! This helps our business to thrive and continue providing free, high-quality recipes for you.
Nutrition
Did You Make This?
Leave a comment & rating below or tag
@festive-cooks on social media!
Categories:
You might also like...

Air Fryer Bang Bang Cauliflower
Crispy air fryer cauliflower tossed in a creamy sweet-spicy bang bang sauce for a crowd-pleasing, quick appetizer or weeknight treat.

Air Fryer Buffalo Cauliflower
Crispy battered cauliflower florets tossed in a tangy buffalo sauce, ready in the air fryer for a spicy, crowd pleasing snack or light meal.

Air Fryer Honey Butter Garlic Chicken
Crispy, juicy chicken tossed in a glossy honey-butter-garlic glaze — ready in minutes with an air fryer for an easy weeknight favorite.
Did You Make This?
Leave a comment & rating below or tag @festive-cooks on social media!
Rate This Recipe
Share This Recipe
Enjoyed this recipe? Share it with friends and family, and don't forget to leave a review!
Comments (1)
This recipe looks amazing! Can't wait to try it.
Comments are stored locally in your browser. Server comments are displayed alongside your local comments.

Hi, I'm Jessica!
What's Popular

30-Minute Meals!
Join to receive our email series which contains a round-up of some of our quick and easy family favorite recipes.